domino logo
Get started with Python
Step 0: Orient yourself to DominoStep 1: Create a projectStep 2: Configure your projectStep 3: Start a workspaceStep 4: Get your files and dataStep 5: Develop your modelStep 6: Clean up WorkspacesStep 7: Deploy your model
Get started with R
Step 0: Orient yourself to Domino (R Tutorial)Step 1: Create a projectStep 2: Configure your projectStep 3: Start a workspaceStep 4: Get your files and dataStep 5: Develop your modelStep 6: Clean up WorkspacesStep 7: Deploy your model
Domino Reference
Projects
Projects OverviewProjects PortfolioUpload Files to Domino using your BrowserFork and Merge ProjectsSearchSharing and CollaborationCompare File RevisionsArchive a Project
Advanced Project Settings
Project DependenciesProject TagsRename a ProjectSet up your Project to Ignore FilesUpload files larger than 550MBExporting Files as a Python or R PackageTransfer Project Ownership
Domino Runs
JobsDiagnostic Statistics with dominostats.jsonNotificationsResultsRun Comparison
Advanced Options for Domino Runs
Run StatesDomino Environment VariablesEnvironment Variables for Secure Credential StorageAccessing the shell for a Domino Run with SSHUse Apache Airflow with Domino
Scheduled Jobs
Domino Workspaces
WorkspacesUse Visual Studio Code in Domino WorkspacesPersist RStudio PreferencesAccess Multiple Hosted Applications in one Workspace Session
Customize the Domino Software Environment
Environment ManagementDomino Standard EnvironmentsInstall Packages and DependenciesAdd Workspace IDEs
Advanced Options for Domino Software Environment
Install Custom Packages in Domino with Git IntegrationAdd Custom DNS Servers to Your Domino EnvironmentConfigure a Compute Environment to User Private Cran/Conda/PyPi MirrorsScala notebooksUse TensorBoard in Jupyter WorkspacesUse MATLAB as a WorkspaceCreate a SAS Data Science Workspace Environment
Publish your Work
Publish a Model API
Model Publishing OverviewModel Invocation SettingsModel Access and CollaborationModel Deployment ConfigurationPromote Projects to Production
Publish a Web Application
App Publishing OverviewGet Started with DashGet Started with ShinyGet Started with Flask
Advanced Web Application Settings in Domino
App Scaling and PerformanceHost HTML Pages from DominoHow to Get the Domino Username of an App Viewer
Launchers
Launchers OverviewAdvanced Launcher Editor
Assets Portfolio Overview
Connect to your Data
Domino Datasets
Datasets OverviewDatasets Best PracticesAbout domino.yamlDatasets Advanced Mode TutorialDatasets Scratch SpacesConvert Legacy Data Sets to Domino Datasets
Data Sources OverviewConnect to Data Sources
Git and Domino
Git Repositories in DominoWork From a Commit ID in Git
Work with Data Best Practices
Work with Big Data in DominoWork with Lots of FilesMove Data Over a Network
Hadoop and Spark
Connect to a Cloudera CDH5 cluster from DominoConnect to a Hortonworks cluster from DominoConnect to a MapR cluster from DominoConnect to an Amazon EMR cluster from DominoHadoop and Spark overviewKerberos authenticationRun local Spark on a Domino executorUse PySpark in Jupyter Workspaces
Advanced User Configuration Settings
Two-factor authenticationUser API KeysOrganizations Overview
Use the Domino Command Line Interface (CLI)
Install the Domino Command Line (CLI)Domino CLI ReferenceDownload Files with the CLIForce-Restore a Local ProjectMove a Project Between Domino DeploymentsUse the Domino CLI Behind a Proxy
Browser Support
Get Help with Domino
Additional ResourcesGet Domino VersionContact Domino Technical Support
domino logo
About Domino
Domino Data LabKnowledge BaseData Science BlogTraining
User Guide
>
Domino Reference
>
Domino Runs
>
Advanced Options for Domino Runs
>
Accessing the shell for a Domino Run with SSH

Accessing the shell for a Domino Run with SSH

There are two ways to get access to the OS shell of a Domino Run:

  1. Direct SSH integration

  2. A Jupyter notebook’s terminal

1. SSH Integration

This functionality enables access directly to the environment powering your workspace session. This is enabled in our hosted cloud environment, and must be enabled by your administrator for private cloud and on-premises users.

Prerequisite: Configure Your Account for SSH Integration

Configuring your account for ssh access is easy with Domino.

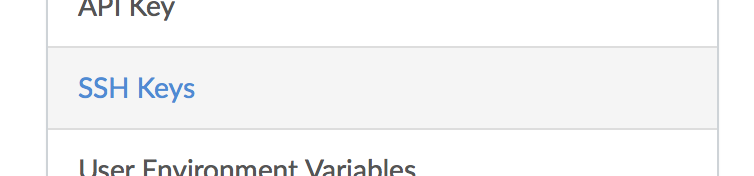
From the Web UI, click on your username in the top right corner and select “Account Settings”. From the Account Settings page, select SSH Keys from the left hand menu.

image0

Find your public key on your own machine. Often this is ~/.ssh/id_dsa.pub or ~/.ssh/id_rsa.pub and copy the contents of this file into the dialog. For example, this is what one of these keys may look like:

$ cat ~/.ssh/id_rsa.pub
ssh-rsa AAAB3nZaC1aycAAEU+/ZdulUJoeuchOUU02/j18L7fo+ltQ0f322+Au/9yy9oaABBRCrHN/yo88
BC0AB3nZaC1aycAAEU+/ZdulUJoeuchOUU02/j18L7fo+ltQ0f322AB3nZaC1aycAAEU+/ZdulU
JoeuchOUU02/j18L7fo+ltQ0f322AB3nZaC1aycAAEU+/ZdulUJoeuchOUU02/j18L7fo+ltQ0f322
AB3nZaC1aycAAEU+/ZdulUJoeuchOUU02/j18L7fo+ltQ0f322klCi0/aEBB
c02N+JJP john@example.com

Take that text, copy it into the text box, and remember to give your SSH key a memorable name. You want to be able to remember which keys were on which computers in case you ever need to revoke access. The process should look like this GIF.

image1

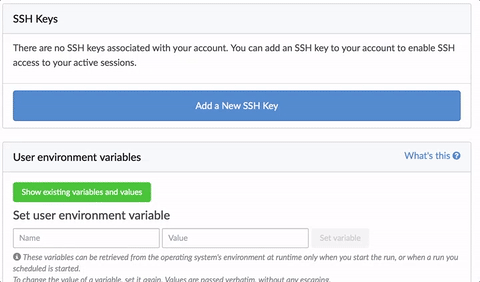
From the Account Settings screen, you will be able to manage your keys if you ever need to delete one.

[Note: If your key fails to validate, make sure it consists of the following space separated fields: options field (optional), key type, Base64-encoded key, and comment (optional). The key type must start with "ssh" or "ecds". No spaces are permitted in the key type, key, or comment field. Spaces in the options fields are only permitted within double quotes. For more information, see the ssh manual page (http://man.openbsd.org/sshd.8).]

Now you’re ready to SSH into a workspace session!

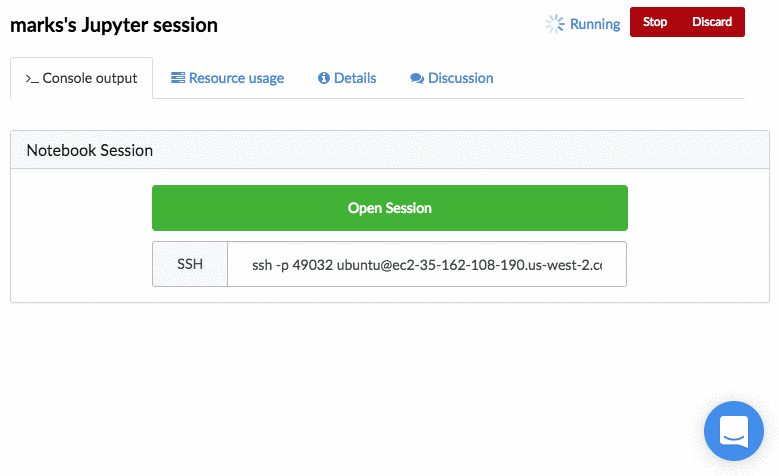
SSH’ing into a workspace Session

Start a workspace session(such as a Jupyter notebook or RStudio) and copy/paste the SSH connection string into the terminal of your choice like this:

image2

Note
ssh -p 49001 -i ~/.ssh/my_domino_key_rsa ubuntu@ec2-35-166-98-74.us-west-2.compute.amazonaws.com

2. Jupyter Terminal

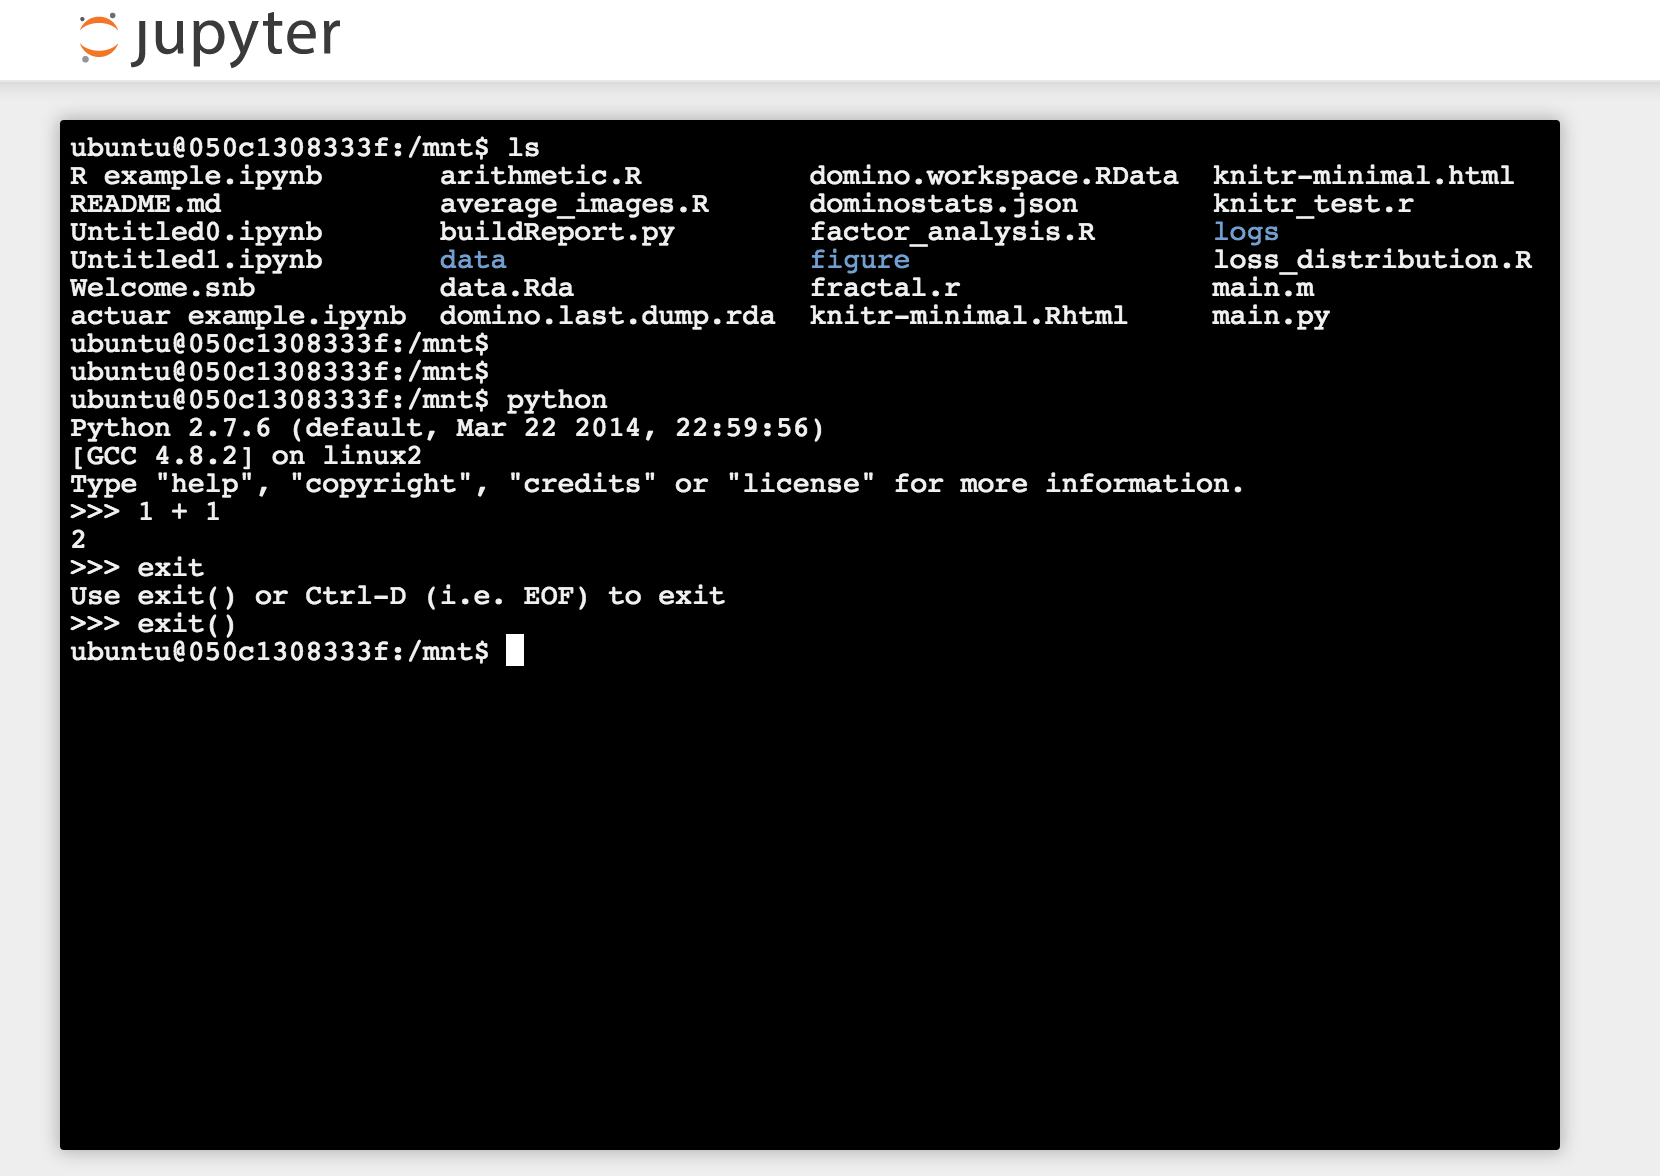
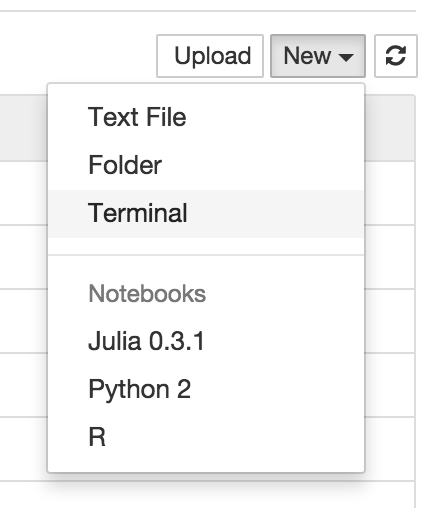
You can get shell access via Jupyter, which lets you create a new "Terminal" session. To do this:

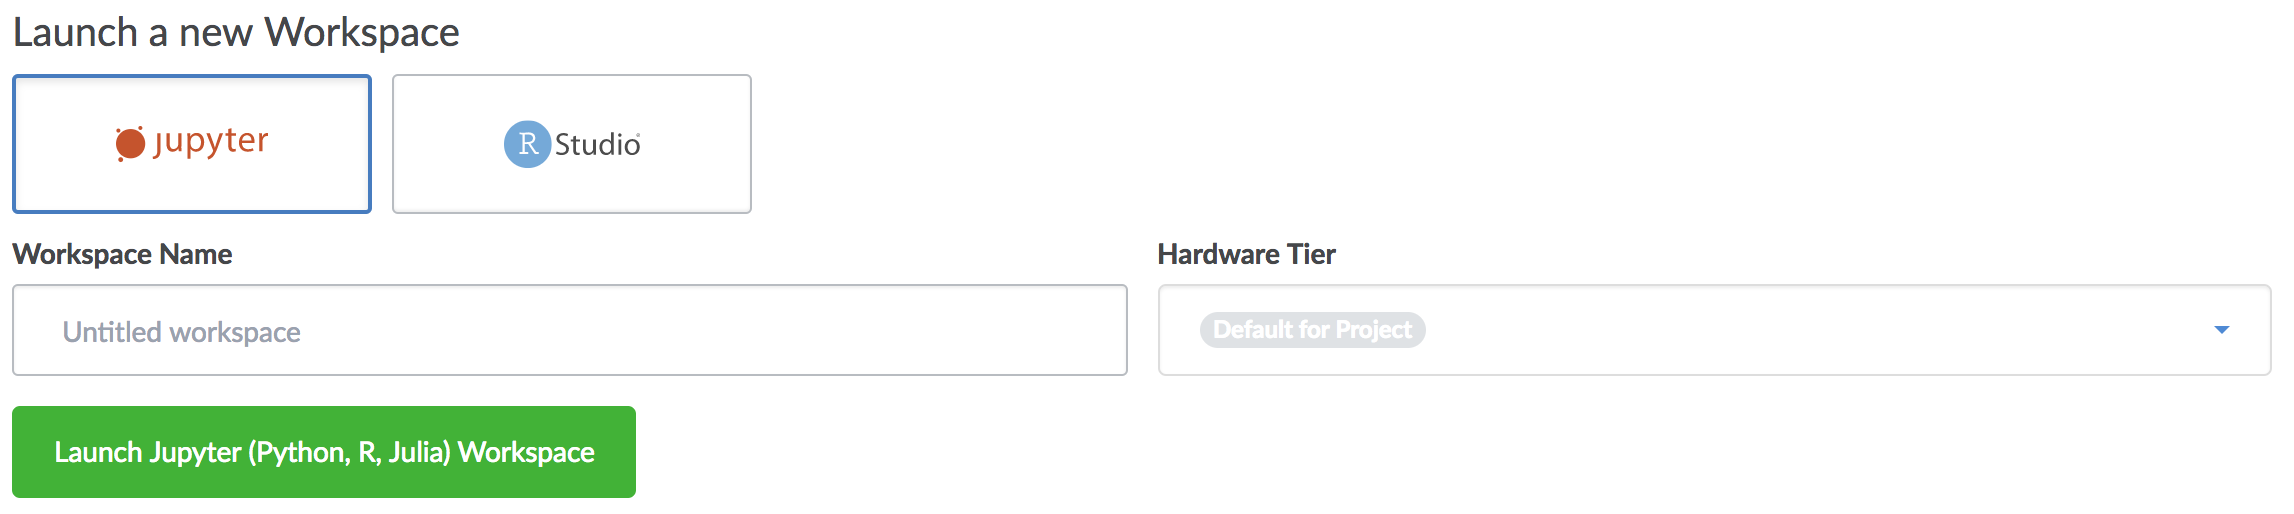
  1. Start a new workspace session and open it.

    image3

  2. Create a Terminal from Jupyter’s New menu.

    image4

From here, you have access to all the files in your project, as well as all executables installed in the underlying compute environment.

image5

Domino Data LabKnowledge BaseData Science BlogTraining
Copyright © 2022 Domino Data Lab. All rights reserved.