domino logo
Get started with Python
Step 0: Orient yourself to DominoStep 1: Create a projectStep 2: Configure your projectStep 3: Start a workspaceStep 4: Get your files and dataStep 5: Develop your modelStep 6: Clean up WorkspacesStep 7: Deploy your model
Get started with R
Step 0: Orient yourself to Domino (R Tutorial)Step 1: Create a projectStep 2: Configure your projectStep 3: Start a workspaceStep 4: Get your files and dataStep 5: Develop your modelStep 6: Clean up WorkspacesStep 7: Deploy your model
Domino Reference
Projects
Projects OverviewProjects PortfolioUpload Files to Domino using your BrowserFork and Merge ProjectsSearchSharing and CollaborationCompare File RevisionsArchive a Project
Advanced Project Settings
Project DependenciesProject TagsRename a ProjectSet up your Project to Ignore FilesUpload files larger than 550MBExporting Files as a Python or R PackageTransfer Project Ownership
Domino Runs
JobsDiagnostic Statistics with dominostats.jsonNotificationsResultsRun Comparison
Advanced Options for Domino Runs
Run StatesDomino Environment VariablesEnvironment Variables for Secure Credential StorageAccessing the shell for a Domino Run with SSHUse Apache Airflow with Domino
Scheduled Jobs
Domino Workspaces
WorkspacesUse Visual Studio Code in Domino WorkspacesPersist RStudio PreferencesAccess Multiple Hosted Applications in one Workspace Session
Customize the Domino Software Environment
Environment ManagementDomino Standard EnvironmentsInstall Packages and DependenciesAdd Workspace IDEs
Advanced Options for Domino Software Environment
Install Custom Packages in Domino with Git IntegrationAdd Custom DNS Servers to Your Domino EnvironmentConfigure a Compute Environment to User Private Cran/Conda/PyPi MirrorsScala notebooksUse TensorBoard in Jupyter WorkspacesUse MATLAB as a WorkspaceCreate a SAS Data Science Workspace Environment
Publish your Work
Publish a Model API
Model Publishing OverviewModel Invocation SettingsModel Access and CollaborationModel Deployment ConfigurationPromote Projects to Production
Publish a Web Application
App Publishing OverviewGet Started with DashGet Started with ShinyGet Started with Flask
Advanced Web Application Settings in Domino
App Scaling and PerformanceHost HTML Pages from DominoHow to Get the Domino Username of an App Viewer
Launchers
Launchers OverviewAdvanced Launcher Editor
Assets Portfolio Overview
Connect to your Data
Domino Datasets
Datasets OverviewDatasets Best PracticesAbout domino.yamlDatasets Advanced Mode TutorialDatasets Scratch SpacesConvert Legacy Data Sets to Domino Datasets
Data Sources OverviewConnect to Data Sources
Git and Domino
Git Repositories in DominoWork From a Commit ID in Git
Work with Data Best Practices
Work with Big Data in DominoWork with Lots of FilesMove Data Over a Network
Hadoop and Spark
Connect to a Cloudera CDH5 cluster from DominoConnect to a Hortonworks cluster from DominoConnect to a MapR cluster from DominoConnect to an Amazon EMR cluster from DominoHadoop and Spark overviewKerberos authenticationRun local Spark on a Domino executorUse PySpark in Jupyter Workspaces
Advanced User Configuration Settings
Two-factor authenticationUser API KeysOrganizations Overview
Use the Domino Command Line Interface (CLI)
Install the Domino Command Line (CLI)Domino CLI ReferenceDownload Files with the CLIForce-Restore a Local ProjectMove a Project Between Domino DeploymentsUse the Domino CLI Behind a Proxy
Browser Support
Get Help with Domino
Additional ResourcesGet Domino VersionContact Domino Technical Support
domino logo
About Domino
Domino Data LabKnowledge BaseData Science BlogTraining
User Guide
>
Domino Reference
>
Projects
>
Fork and Merge Projects

Fork and Merge Projects

Forking a project copies all of its files into a new, separate project, allowing for independent development and experimentation. Changes in the forked project can later be reviewed and merged back into the original project.

Fork a project

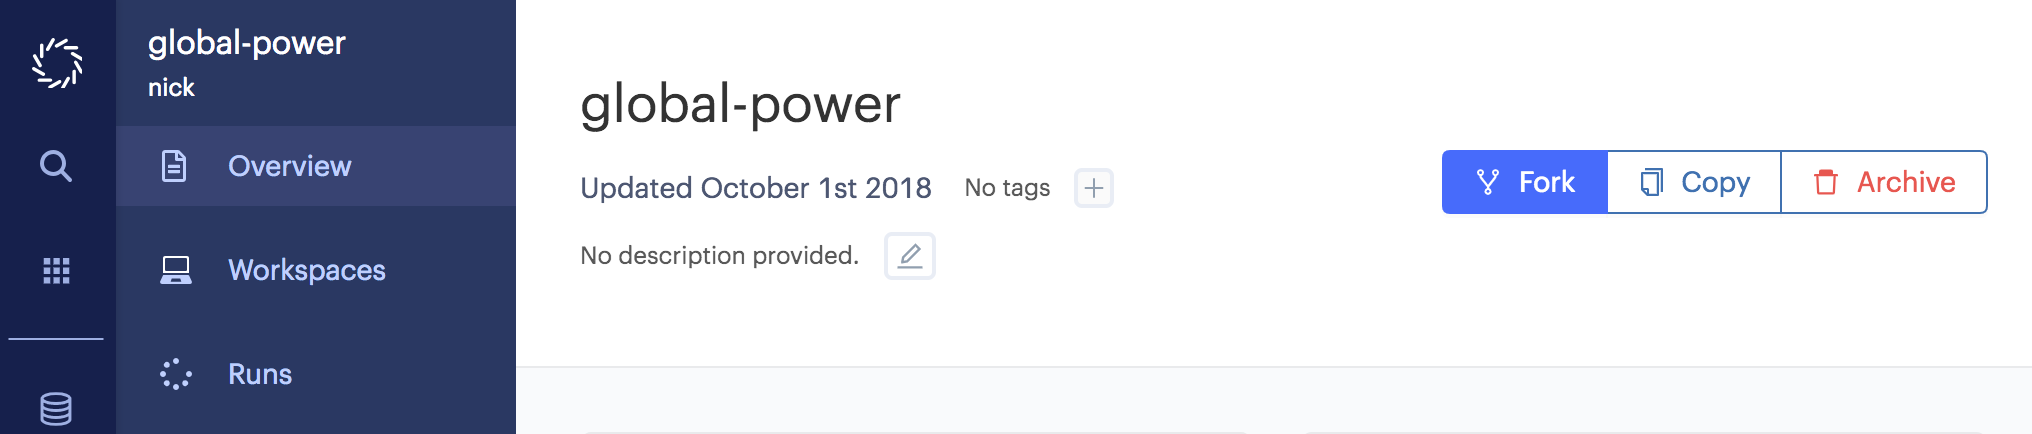
  1. Open the project overview and click Fork.

  2. Enter a name for the fork when prompted. You must be the project owner, or have access to the project as a contributor or results consumer to fork it. Learn more about project roles and access control here.

screen shot 2018 10 01 at 11.12.10 AM

The following are copied to the newly forked project:

  1. All files

  2. Revision history of all files

  3. Environment variables

These things are not copied to the newly forked project:

  1. Run history

  2. Project settings, including collaborators and compute environment

  3. Launchers

  4. Discussion history

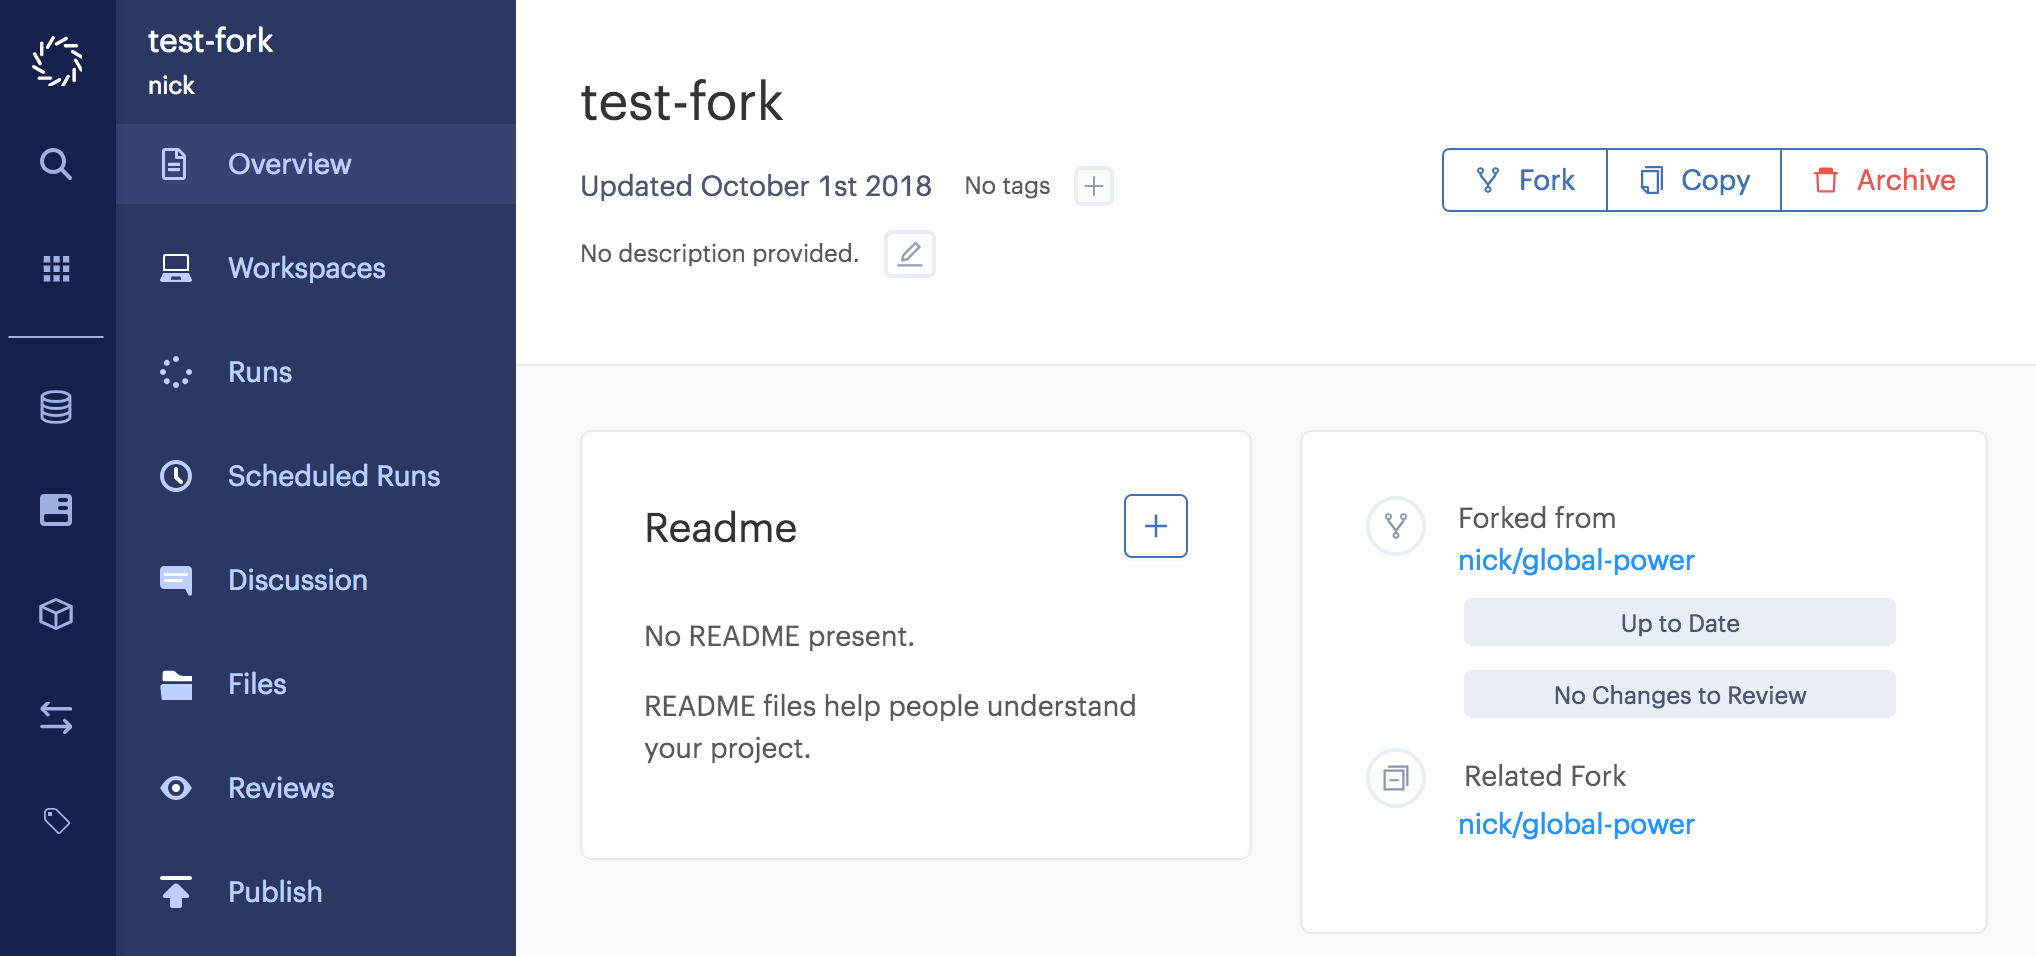
Projects that have been forked, or were created by forking another project, will link to related forks on the project overview page.

screen shot 2018 10 01 at 11.18.00 AM

Merge

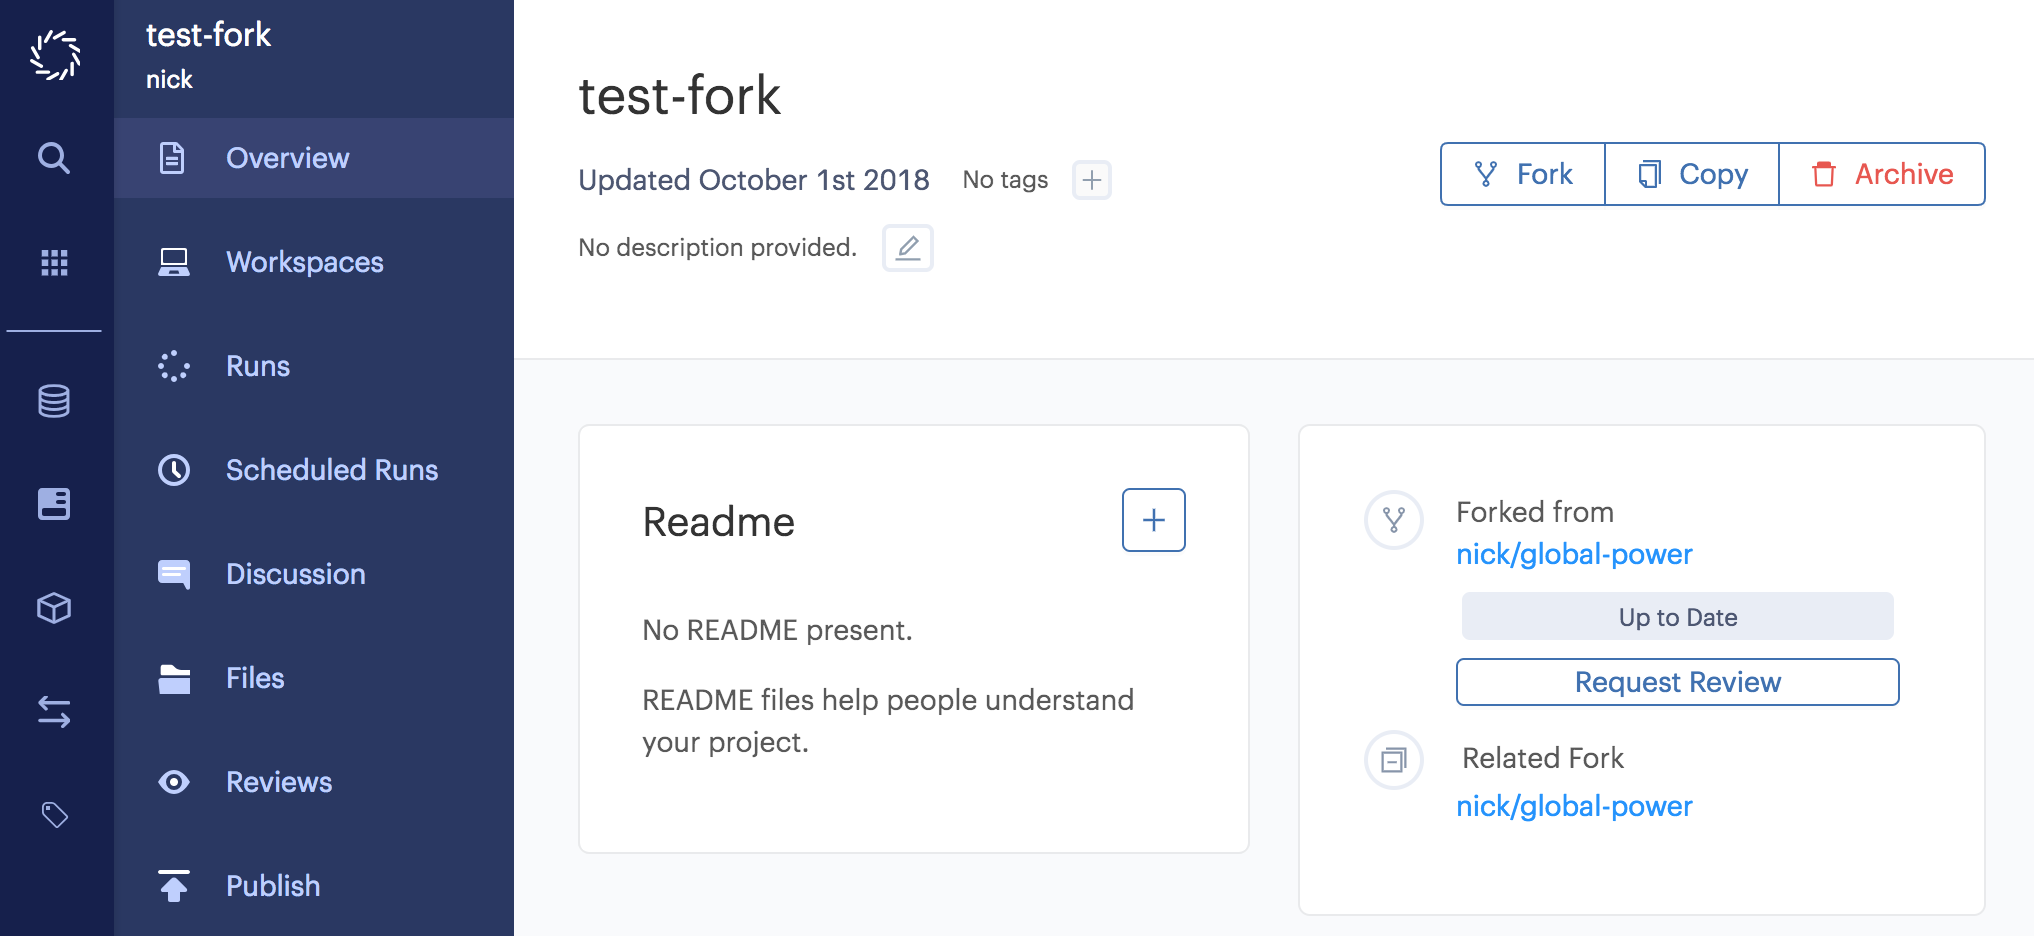
After you’ve made some changes to the new fork, you can initiate a merge by clicking Request Review on the project overview page. You must be the project owner, or have access to the project as a contributor in order to request a merge review.

screen shot 2018 10 01 at 11.37.42 AM

You will be prompted to submit a review request, in which you can review the changes and describe their effects with a message. Once submitted, contributors to the main-line project are notified. The merge will occur when a contributor accepts the review, and a new revision of the main-line project will be written with the forked changes merged in.

To view a history of Review Requests, including the status of current requests, click Reviews from the navigation pane.

Domino Data LabKnowledge BaseData Science BlogTraining
Copyright © 2022 Domino Data Lab. All rights reserved.