domino logo
5.0
  • Overview
  • Domino Cloud
  • Code Assist
  • Get started
  • Work with data
  • Develop models
  • Scale out distributed computing
  • Deploy models
  • Monitor models
  • Publish apps
  • Projects
  • Collaborate
  • Workspaces
  • Jobs
  • Environments
  • Executions
  • Launchers
  • Environment variables
  • Secure credential store
  • Organizations
  • Domino API
  • Domino CLI
  • Troubleshooting
  • Get help
  • Additional Resources
domino logo
About Domino
Domino Data LabKnowledge BaseData Science BlogTraining
>
User Guide
>
Get started
>
Get started with R
>
Step 1: Create a project

Step 1: Create a project

Work in Domino happens in projects. Projects contain data, code, and environment settings, and the entire project is tracked and revisioned automatically. A new commit is written to a project each time its files are changed by user action, or by the execution of code in the project. Users in Domino can create their own new projects, invite other users to collaborate on them, and export data or results for consumption by other projects.

Create a project:
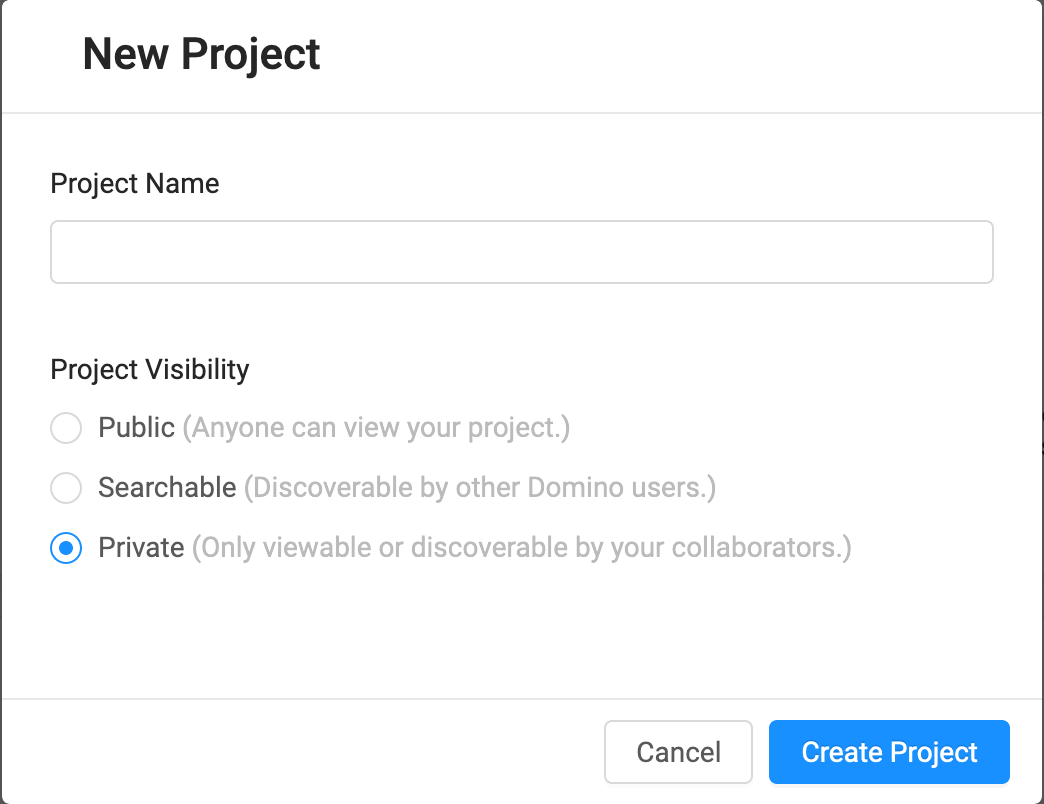
  1. In the left sidebar, click Projects.

  2. Click + New Project.

    New Project Modal

  3. Give your project an informative name (like power-generation)

  4. Set its Visibility to Private.

  5. Click Create Project.

Domino Data Lab
Knowledge Base
Data Science Blog
Training
Copyright © 2022 Domino Data Lab. All rights reserved.