You can import content from one Domino project into another.
The importing project might have access to the exporting project’s files, environment variables, or both, depending on configuration.
During runs with imported files, each project directory is located at /mnt/<username>/<project name>.
When a run or workspace is started, these files are pulled in with the current project’s files.
Imported directories are read-only.
|
Note
|
The path of your project will also change from /mnt to /mnt/<username>/<project name> when you have imported projects.
If you have hardcoded any paths in your project code to /mnt, replace them with paths that use the $DOMINO_WORKING_DIR environment variable.
|
-
Go to project from which you want to export.
-
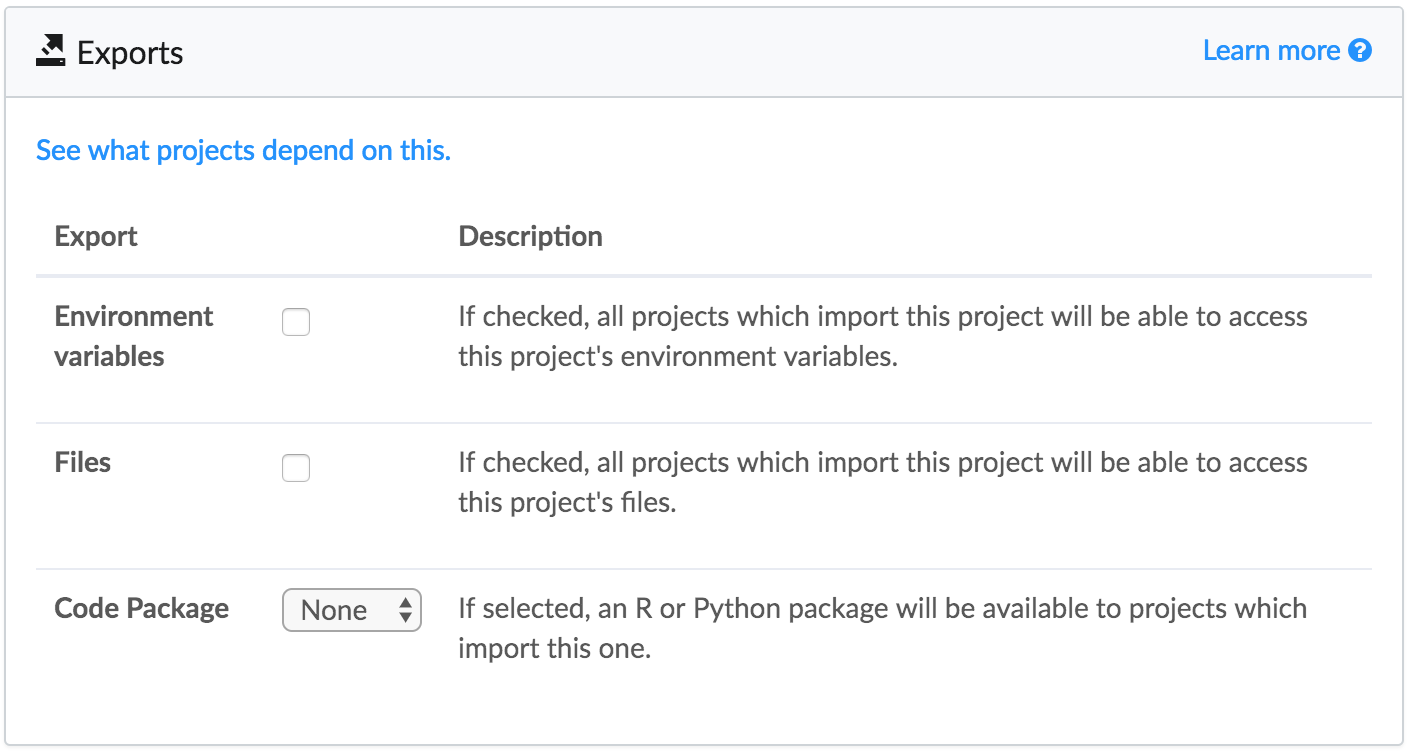
In the navigation pane, go to Settings > Exports.
-
Select the check boxes to enable exports for the project’s Files and Environment variables separately, or export the project files as a Python or R Code Package. If you do not enable any of these options, other projects cannot import anything from this project.
By default, projects make their latest revision available for export.
You can also tag jobs with
releaseto make revisions produced by specific jobs available for import. To do this, go to the Jobs page of a project, select the check box for the Job that you want to export, then click Tag. Enter the exact stringreleaseto mark the revision created by the selected job as available for export.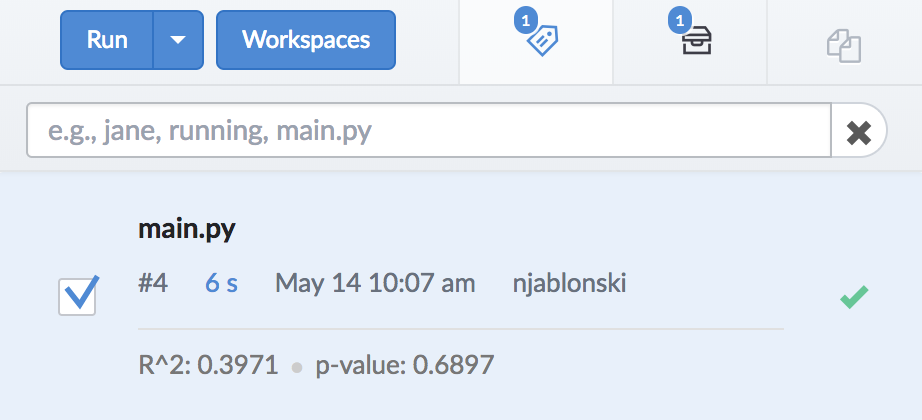
To import a project:
-
You must have Project Importer, Contributor, or Owner permissions on the project.
-
The project must be configured for export.
-
Go to project to which you want to import.
-
In the navigation pane, go to Files and click Other Projects.
-
Click Import a Project and enter the path to the project that you want to import. Use the format
<username>/<project-name>. -
Click Import.
-
Only the files from the directly imported project can be seen when you import. For example if project A is imported into project B, and then your project imports B, only the contents of B will be accessible to your project.
See Troubleshoot Imports if necessary.