Every project has its own settings. The following options are important to consider when configuring a new project:
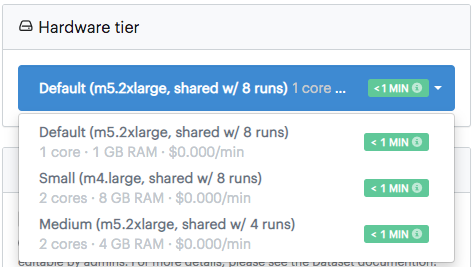
A Hardware Tier represents the compute resources that will be available for your run. You can specify memory, CPU cores, and GPUs with hardware tiers.
The hardware tier dropdown menu lists your available options. The selected hardware tier will be used by default for all subsequent executions of code in the project. It can also be changed at any point in the future.
-
In the Project menu, click Settings.
-
Click the Hardware tier menu to select the compute resource from which to execute your code. Choose the smallest or default hardware tier for this tutorial. Your options might look different from the following image.

This list of available hardware tiers is customizable by your Domino administrators. If you want additional resources, contact your Domino administrator.
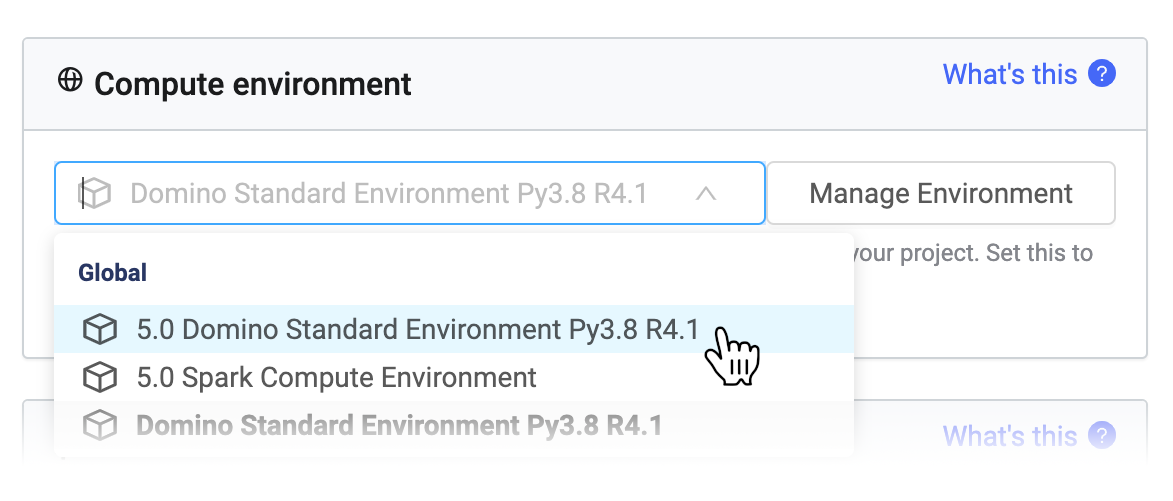
An Environment is a Domino abstraction on top of a Docker image that provides additional flexibility and versioning. You can configure the software, packages, libraries, and drivers that you need in your environment.
Domino comes with a default environment called the Domino Analytics Distribution (DAD) which includes Python, R, Jupyter, RStudio, and key data science related packages and libraries.
-
Click the Compute Environment menu to select the default project Environment.
-
Choose the Python 3 version of the
Domino Analytics Distribution.

Your compute environment dropdown will likely have different options. If you’re interested in learning how to add more packages and customize or create your own Environment, see the help article on Domino Environments.

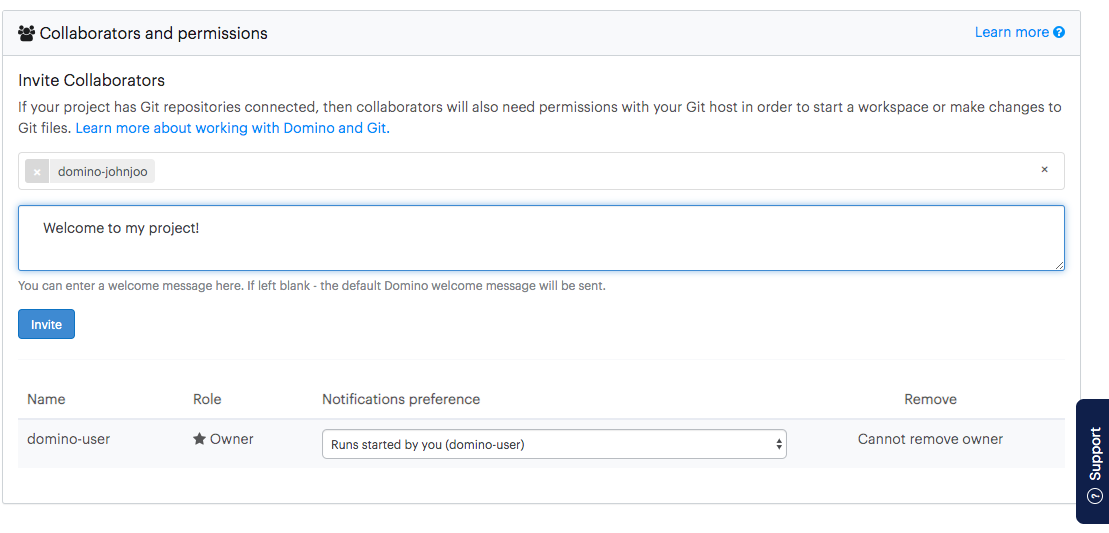
As the owner of the project, you can set different access levels for collaborators and colleagues. Feel free to invite a colleague to be a Contributor to your project.
-
Click the Access & Sharing tab.

-
(Optional) Enter the email or the username of the user that you would like to invite.
-
(Optional) Enter a welcome message to be sent to your collaborator.
The Contributor role allows the invited user to read, write, and
execute code in this project.
See Collaborator Permissions for more information about permissions for each collaborator role.