The Domino standard environments support opening Visual Studio Code (VS Code) in workspaces. VS Code is an open-source multi-language editor maintained by Microsoft. Domino can serve the VS Code application to your browser with the power of code-server from Coder.com.
VS Code support is available in the latest versions of the Domino standard environments:
- Domino Standard Environment
-
-
quay.io/domino/compute-environment-images:ubuntu20-py3.9-r4.2-domino5.2-standard -
quay.io/domino/compute-environment-images:ubuntu20-py3.9-r4.2-domino5.2-gpu -
quay.io/domino/compute-environment-images:ubuntu20-py3.9-r4.2-domino5.2-fuse
-
- Domino Spark Environment
-
-
quay.io/domino/compute-environment-images:ubuntu20-py3.9-r4.2-spark3.2.1-hadoop3.3.1-domino5.2
-
- Domino Ray Environment
-
-
quay.io/domino/compute-environment-images:ubuntu20-py3.9-r4.2-ray1.12.0-domino5.2
-
- Domino Dask Environment
-
-
quay.io/domino/compute-environment-images:ubuntu20-py3.9-r4.2-dask2022.04.2-domino5.2
-
You can also find older style environments with VS Code support if you would like to use an older version of Python or R:
- Domino analytics distribution for Python 2.7
-
-
quay.io/domino/base:Ubuntu18_DAD_Py2.7_R3.5-20190501
-
- Domino analytics distribution for Python 3.7
-
-
quay.io/domino/base:Ubuntu18_DAD_Py3.7_R3.5-20190501
-
If you are using a Domino environment that has VS Code, you can launch VS Code when you create a workspace just as you would launch any other IDE.
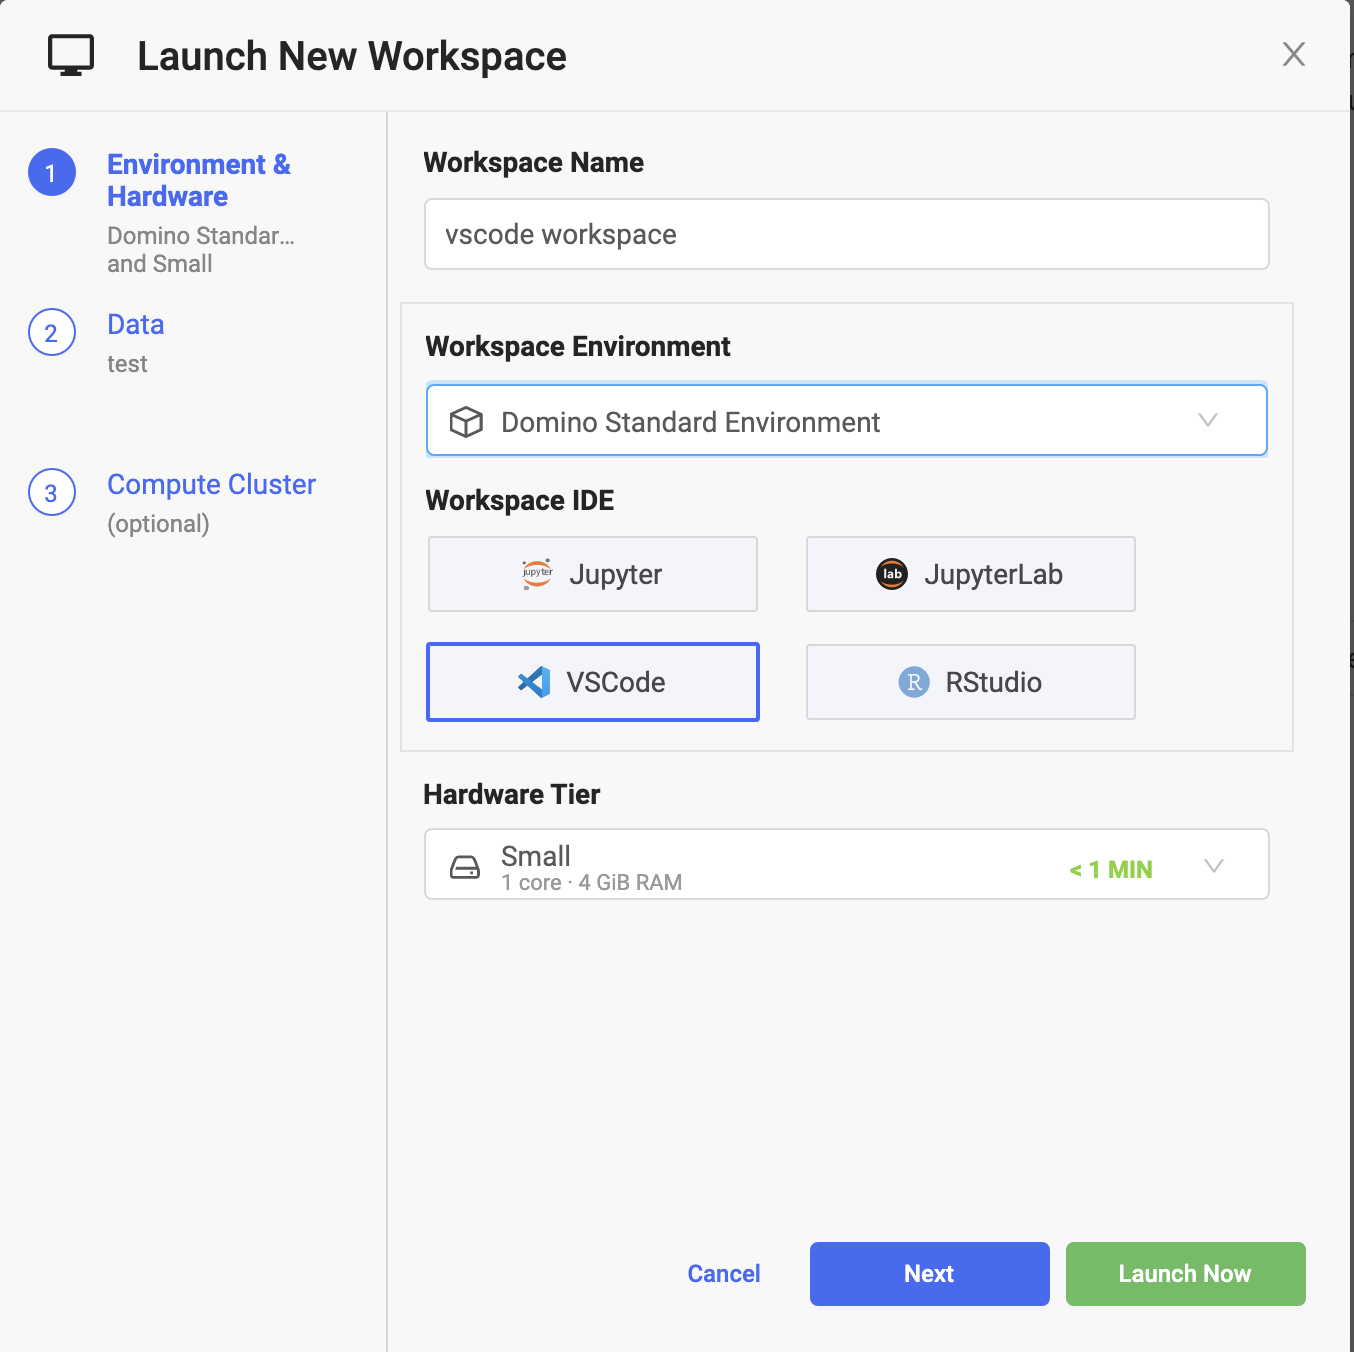
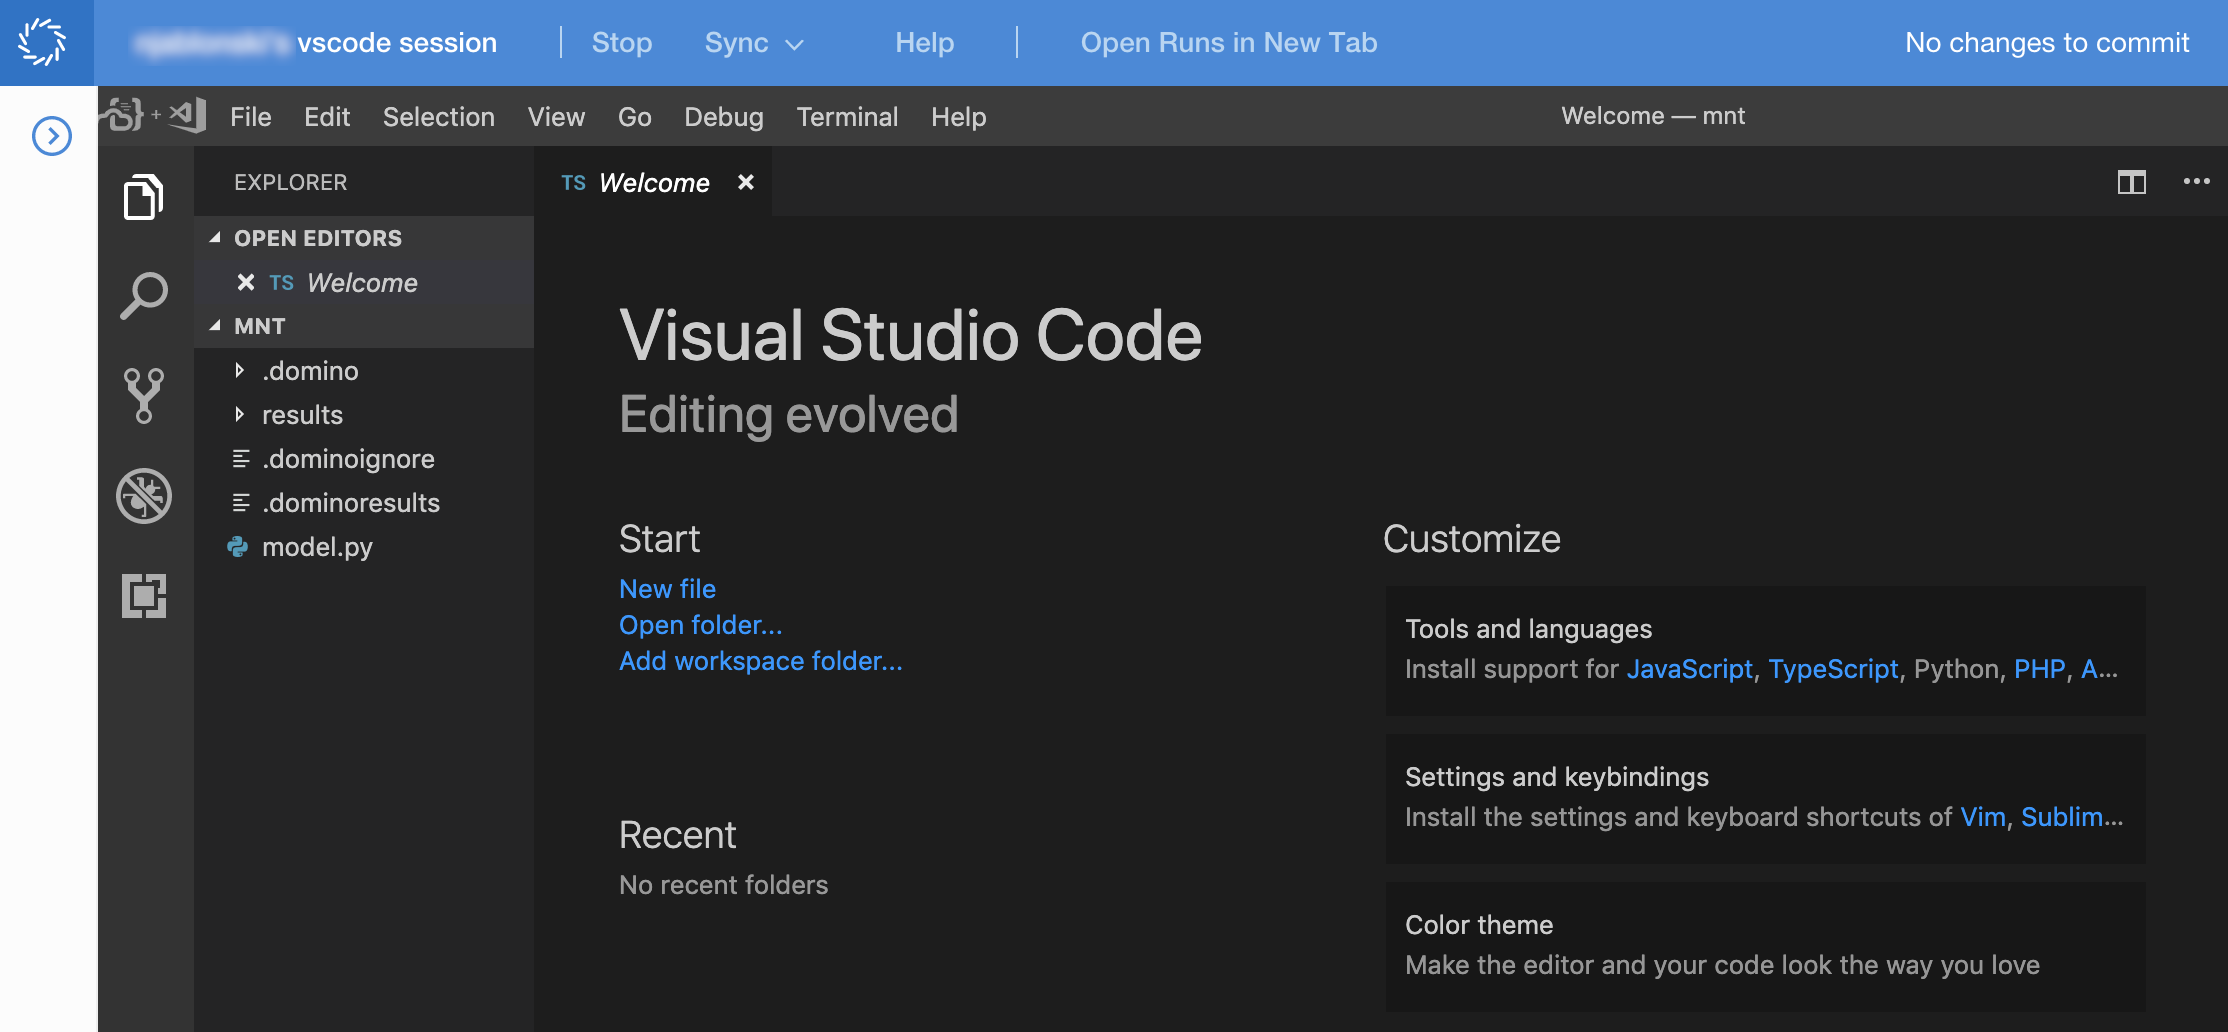
If launched this way, your workspace will open with the Domino controls around a VS Code editor. You can work with your project files in VS Code, and commit and sync with the Domino workspace as normal.
You can also configure JupyterLab to have VS Code as an available notebook option.
All the environments listed above come with
jupyter-server-proxy already installed, so you will only need to update your JupyterLab config to add a new notebook tile type.
See
Using Jupyter Server Proxy for more details about how to do this.
If launched this way, JupyterLab opens a new tab that serves the VS Code application. This editor is running in the same Domino Run container as your JupyterLab application. However, the VS Code tab will not show the Domino workspace controls. If you want to sync, commit, or stop your workspace after working in VS Code, you must do so from the JupyterLab tab.
You can install VS Code extensions in the following ways:
-
Use the pre-run script.
-
Use VS Code’s extensions manager.
Use VS Code’s extensions manager
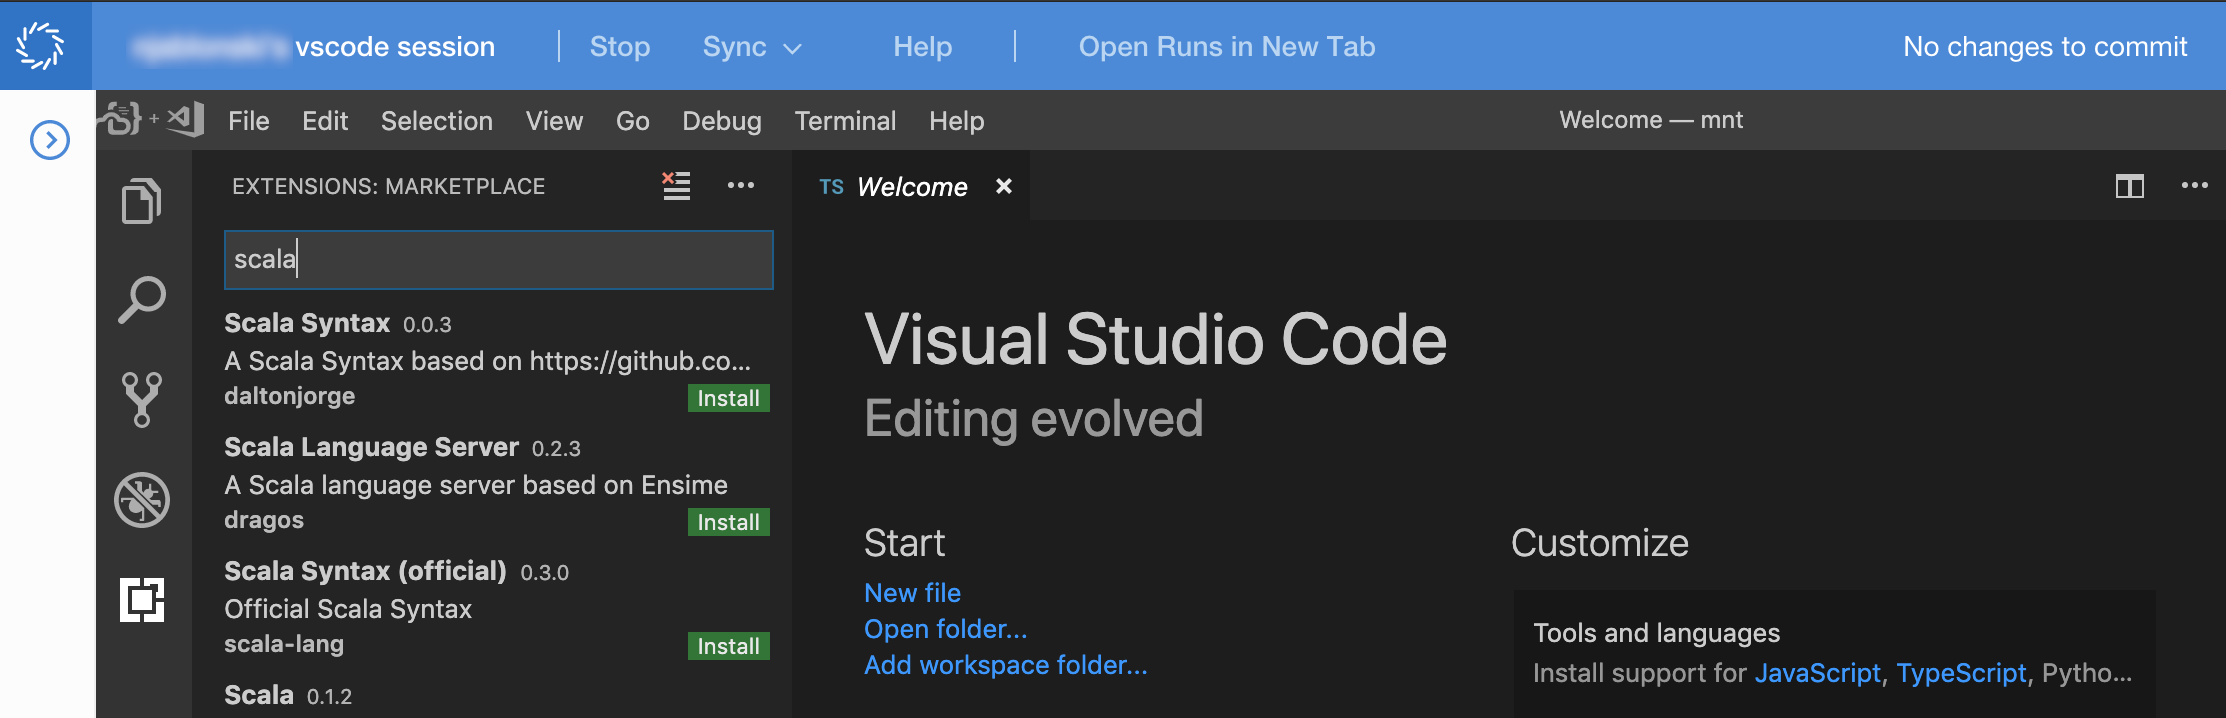
Use the VS Code’s extensions manager to install extensions from the marketplace. You must build the extensions in your environment to make them available in every new VS Code workspace.
-
Find the extension you want to install in the Visual Studio Marketplace. For example, install the scala-lang extension.
-
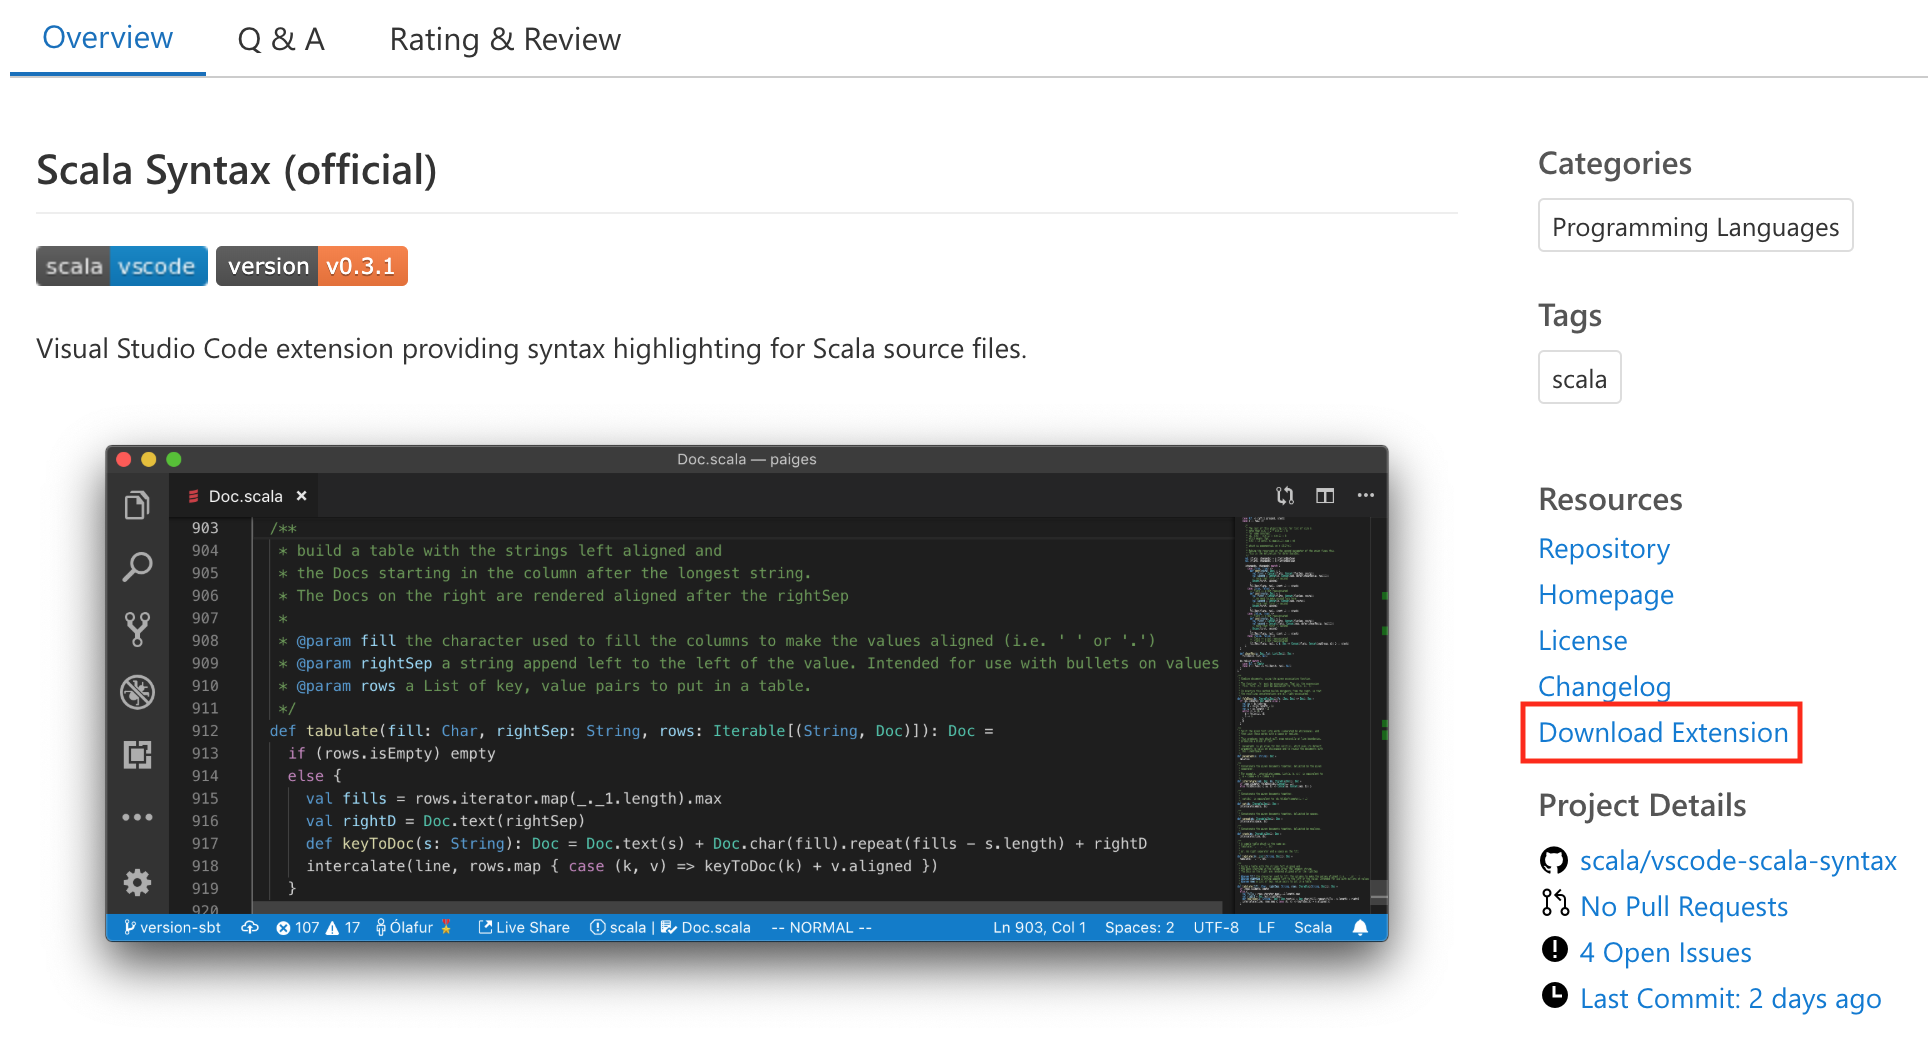
Microsoft obscures the download URL for the extension by default. Open your browser’s development tools, then click Download extension.
-
Get the download URL for the extension from the request details in your browser’s development tools. It ends with
/vspackage. Copy this URL.
-
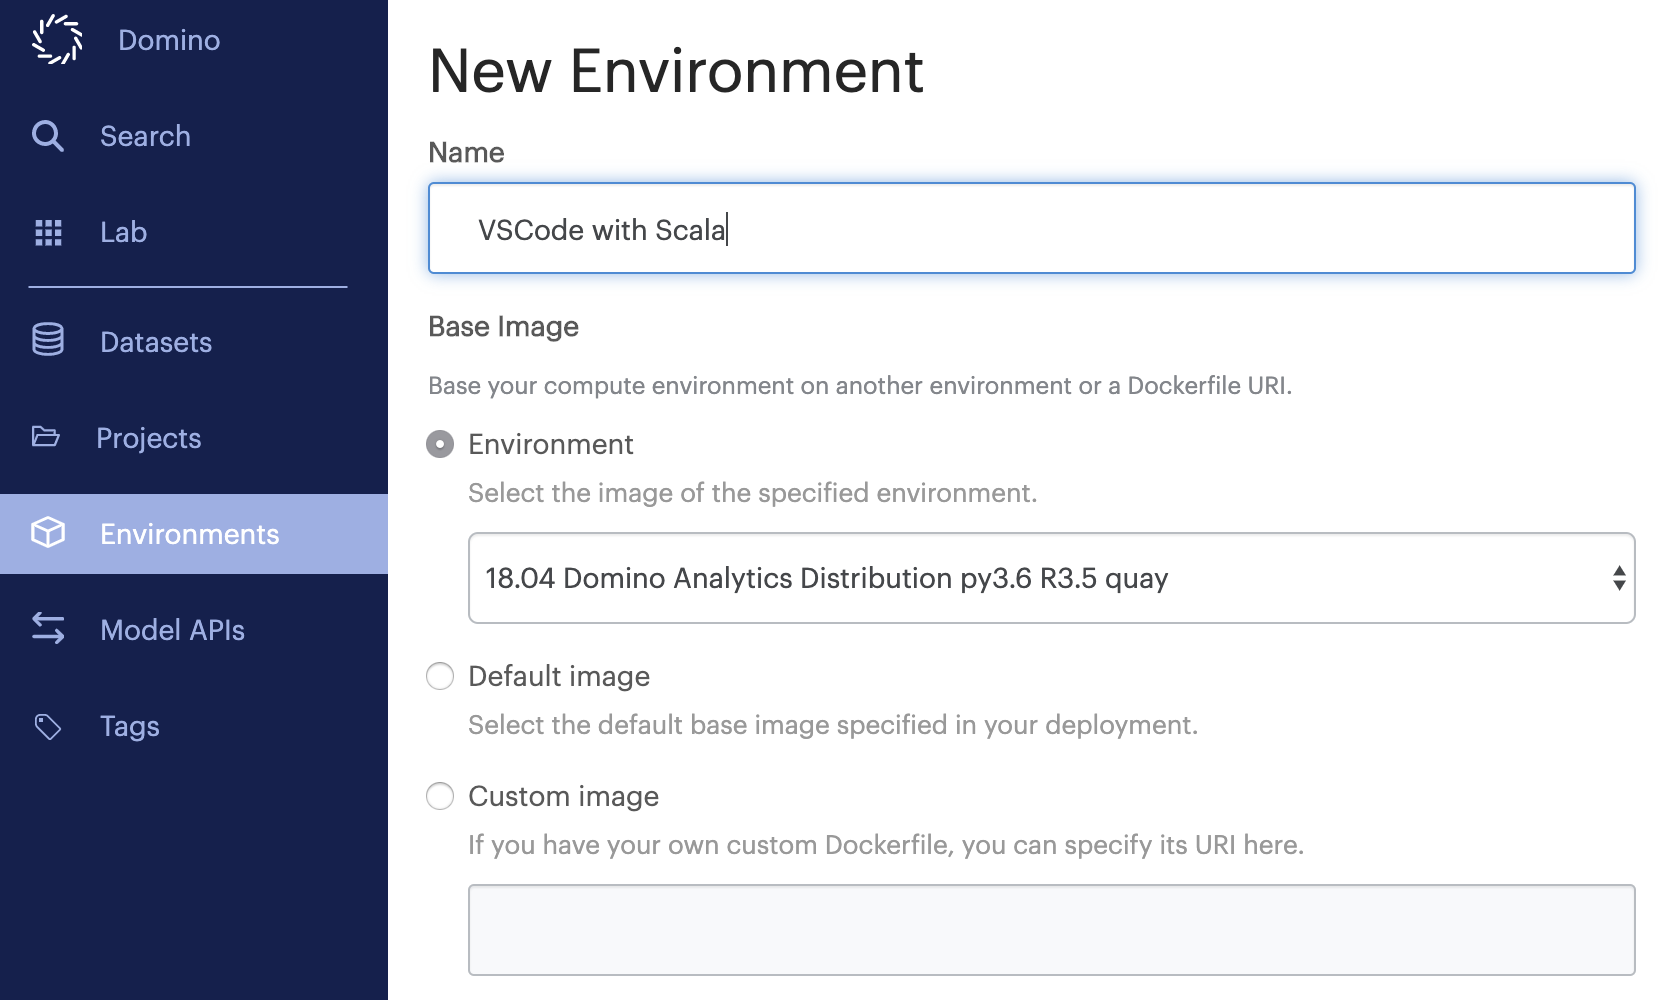
In Domino, create a new environment. As the base image, use one of the VS Code-equipped Domino standard environments, listed in the prerequisites.
-
Add the following instructions to your environment’s Dockerfile. Replace the folder names and example
/vspackageURL with the extension URL you retrieved previously. These commands download the extension, extract the required files, and add them to the appropriate folder.USER root RUN apt-get update RUN apt-get install -y bsdtar RUN mkdir -p /home/ubuntu/.local/share/code-server/extensions/ms-python.python-2019.3.6558 RUN cd /home/ubuntu/.local/share/code-server/extensions/ms-python.python-2019.3.6558 RUN curl -JL https://marketplace.visualstudio.com/_apis/public/gallery/publishers/ms-python/vsextensions/python/2019.3.6558/vspackage | bsdtar -xvf - extension RUN cd /home/ubuntu/.local/share/code-server/extensions/ms-python.python-2019.3.6558/extension/ && mv * ../ RUN chown ubuntu:ubuntu /home/ubuntu/.local/share/code-server/ USER ubuntu -
Click Build. After a successful build, you can use this new environment to launch VS Code workspace sessions with the extensions already installed.
You can add VS Code to an environment that does not include it. The base environment must be 2018-05-23 or newer.
-
Add the following to your compute environment Dockerfile instructions:
USER root # Install VS Code (we install an older version so the Python extension works) RUN curl -fOL https://github.com/cdr/code-server/releases/download/v3.10.2/code-server_3.10.2_amd64.deb && \ dpkg -i code-server_3.10.2_amd64.deb # Add a VS Code start script RUN mkdir -p /opt/domino/workspaces/vscode && \ chown -R ubuntu:ubuntu /opt/domino/workspaces/vscode && \ echo "#!/bin/bash" >> /opt/domino/workspaces/vscode/start && \ echo "SETTINGS_DIR=${DOMINO_WORKING_DIR}/.vscode" >> /opt/domino/workspaces/vscode/start && \ echo "FILE=${SETTINGS_DIR}/settings.json" >> /opt/domino/workspaces/vscode/start && \ echo "# Add a user setting file if it doesn't exist. Add in DOMINO_WORKING_DIR so it persists across sessions" >> /opt/domino/workspaces/vscode/start && \ echo "if [ ! -f "$FILE" ]; then" >> /opt/domino/workspaces/vscode/start && \ echo "sudo mkdir -p "${FILE%/*}"" >> /opt/domino/workspaces/vscode/start && \ echo "sudo chown -R ubuntu:ubuntu ${SETTINGS_DIR}" >> /opt/domino/workspaces/vscode/start && \ echo "printf "{" >> /opt/domino/workspaces/vscode/start && \ echo " \"extensions.autoUpdate\": false," >> /opt/domino/workspaces/vscode/start && \ echo " \"extensions.autoCheckUpdates\": false," >> /opt/domino/workspaces/vscode/start && \ echo " \"python.pythonPath\": \"$(which python)\"," >> /opt/domino/workspaces/vscode/start && \ echo " \"workbench.startupEditor\": \"none\"," >> /opt/domino/workspaces/vscode/start && \ echo " \"workbench.colorTheme\": \"Default Dark+\"" >> /opt/domino/workspaces/vscode/start && \ echo "}" > ${FILE}" >> /opt/domino/workspaces/vscode/start && \ echo "fi" >> /opt/domino/workspaces/vscode/start && \ echo "code-server ${DOMINO_WORKING_DIR} --user-data-dir ${SETTINGS_DIR} --auth none --bind-addr 0.0.0.0:8888 --extensions-dir ${HOME}/.local/share/code-server/extensions --disable-telemetry" >> /opt/domino/workspaces/vscode/start && \ chmod +x /opt/domino/workspaces/vscode/start USER ubuntu -
Add the following to your compute environment’s Pluggable Workspace Tools:
vscode:
   title: "vscode"
   iconUrl: "https://raw.github.com/dominodatalab/workspace-configs/develop/workspace-logos/vscode.svg?sanitize=true"
   start: [ "/opt/domino/workspaces/vscode/start" ]
   httpProxy:
      port: 8888
      requireSubdomain: false