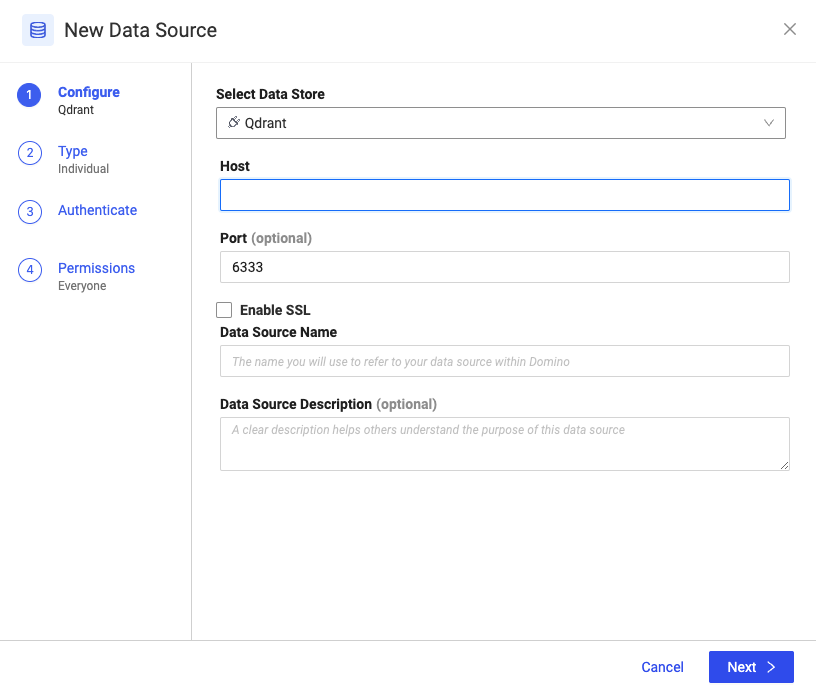
Domino’s Qdrant vector database Data Source connector enables easy, secure access to vectorized content stored in Qdrant.
You will need the following information about your Qdrant database:
-
Host
-
Port
To create a Qdrant Data Source:
-
From the navigation pane, click Data > Create a Data Source > Select Data Store > Qdrant.

-
Provide the Qdrant Host name, Port, and Qdrant API Key for your Qdrant database.
-
Specify a Data Source Name and an optional Description.
Domino stores your Qdrant API Key, along with other secrets, in a secure secret store backed by HashiCorp Vault, so you can have confidence that your secrets are safe. You can test the API key before finalizing your Data Source:
-
Click Test Credentials.
-
Confirm that the Data Source authenticates.
-
Select who can view and use the Data Source in Projects.
To use your Qdrant Data Source, you must install the prerequisite Python libraries in the compute Environment you want to run Qdrant commands in and configure the Qdrant client using a Domino-specific configuration.
Install the Qdrant Python library
To install the Qdrant Python library in your compute Environment by edit your compute Environment and add the following lines to the Dockerfile instructions:
USER root

RUN pip install --user qdrant-client

USER ubuntu
Configure the Qdrant Python client
To connect to your Qdrant service in a Domino execution, you must initialize your Qdrant connection using a Domino-specific Environment. To find the configuration code snippets:
-
In your Workspace, go to Data > Data Sources > Code snippet > Python.
-
Copy and paste the following code snippet into your code, and modify it as needed.
import os

from qdrant_client import QdrantClient

# Create the Qdrant client
qdrant = QdrantClient(
    url=os.environ.get("DOMINO_DATA_API_GATEWAY", "http://127.0.0.1:8766"),
    metadata={"X-Domino-Datasource": "qdrant"},
)

# List all collections
print(qdrant.get_collections())
Once your Qdrant connection is initialized in the Domino execution, you can use the Qdrant Python client normally.
-
Share your Qdrant Data Source with your collaborators.
