The Domino Command Line Interface (CLI) is a powerful tool that allows you to manage your Domino Environment from the command line. It can be used to perform various tasks, such as creating and deleting Projects, backup and restoring Projects, and downloading files.
This guide provides instructions to install the Domino CLI on your system. Instructions are provided for both graphical and headless installations.
Depending on your use case, you can either go for a Headless or Graphical installation:
-
Headless installation is an installation of the Domino CLI on a server or machine that does not have a graphical user interface (GUI).
This is commonly done for machines that are used to automate tasks or run Domino CLI tasks in a server environment or on a Domino Workspace.
-
Graphical installation is an installation of the Domino CLI on a machine that has a GUI. This is the best option for users who want to use the Domino CLI with a graphical interface.
Step 1: Download the CLI installer
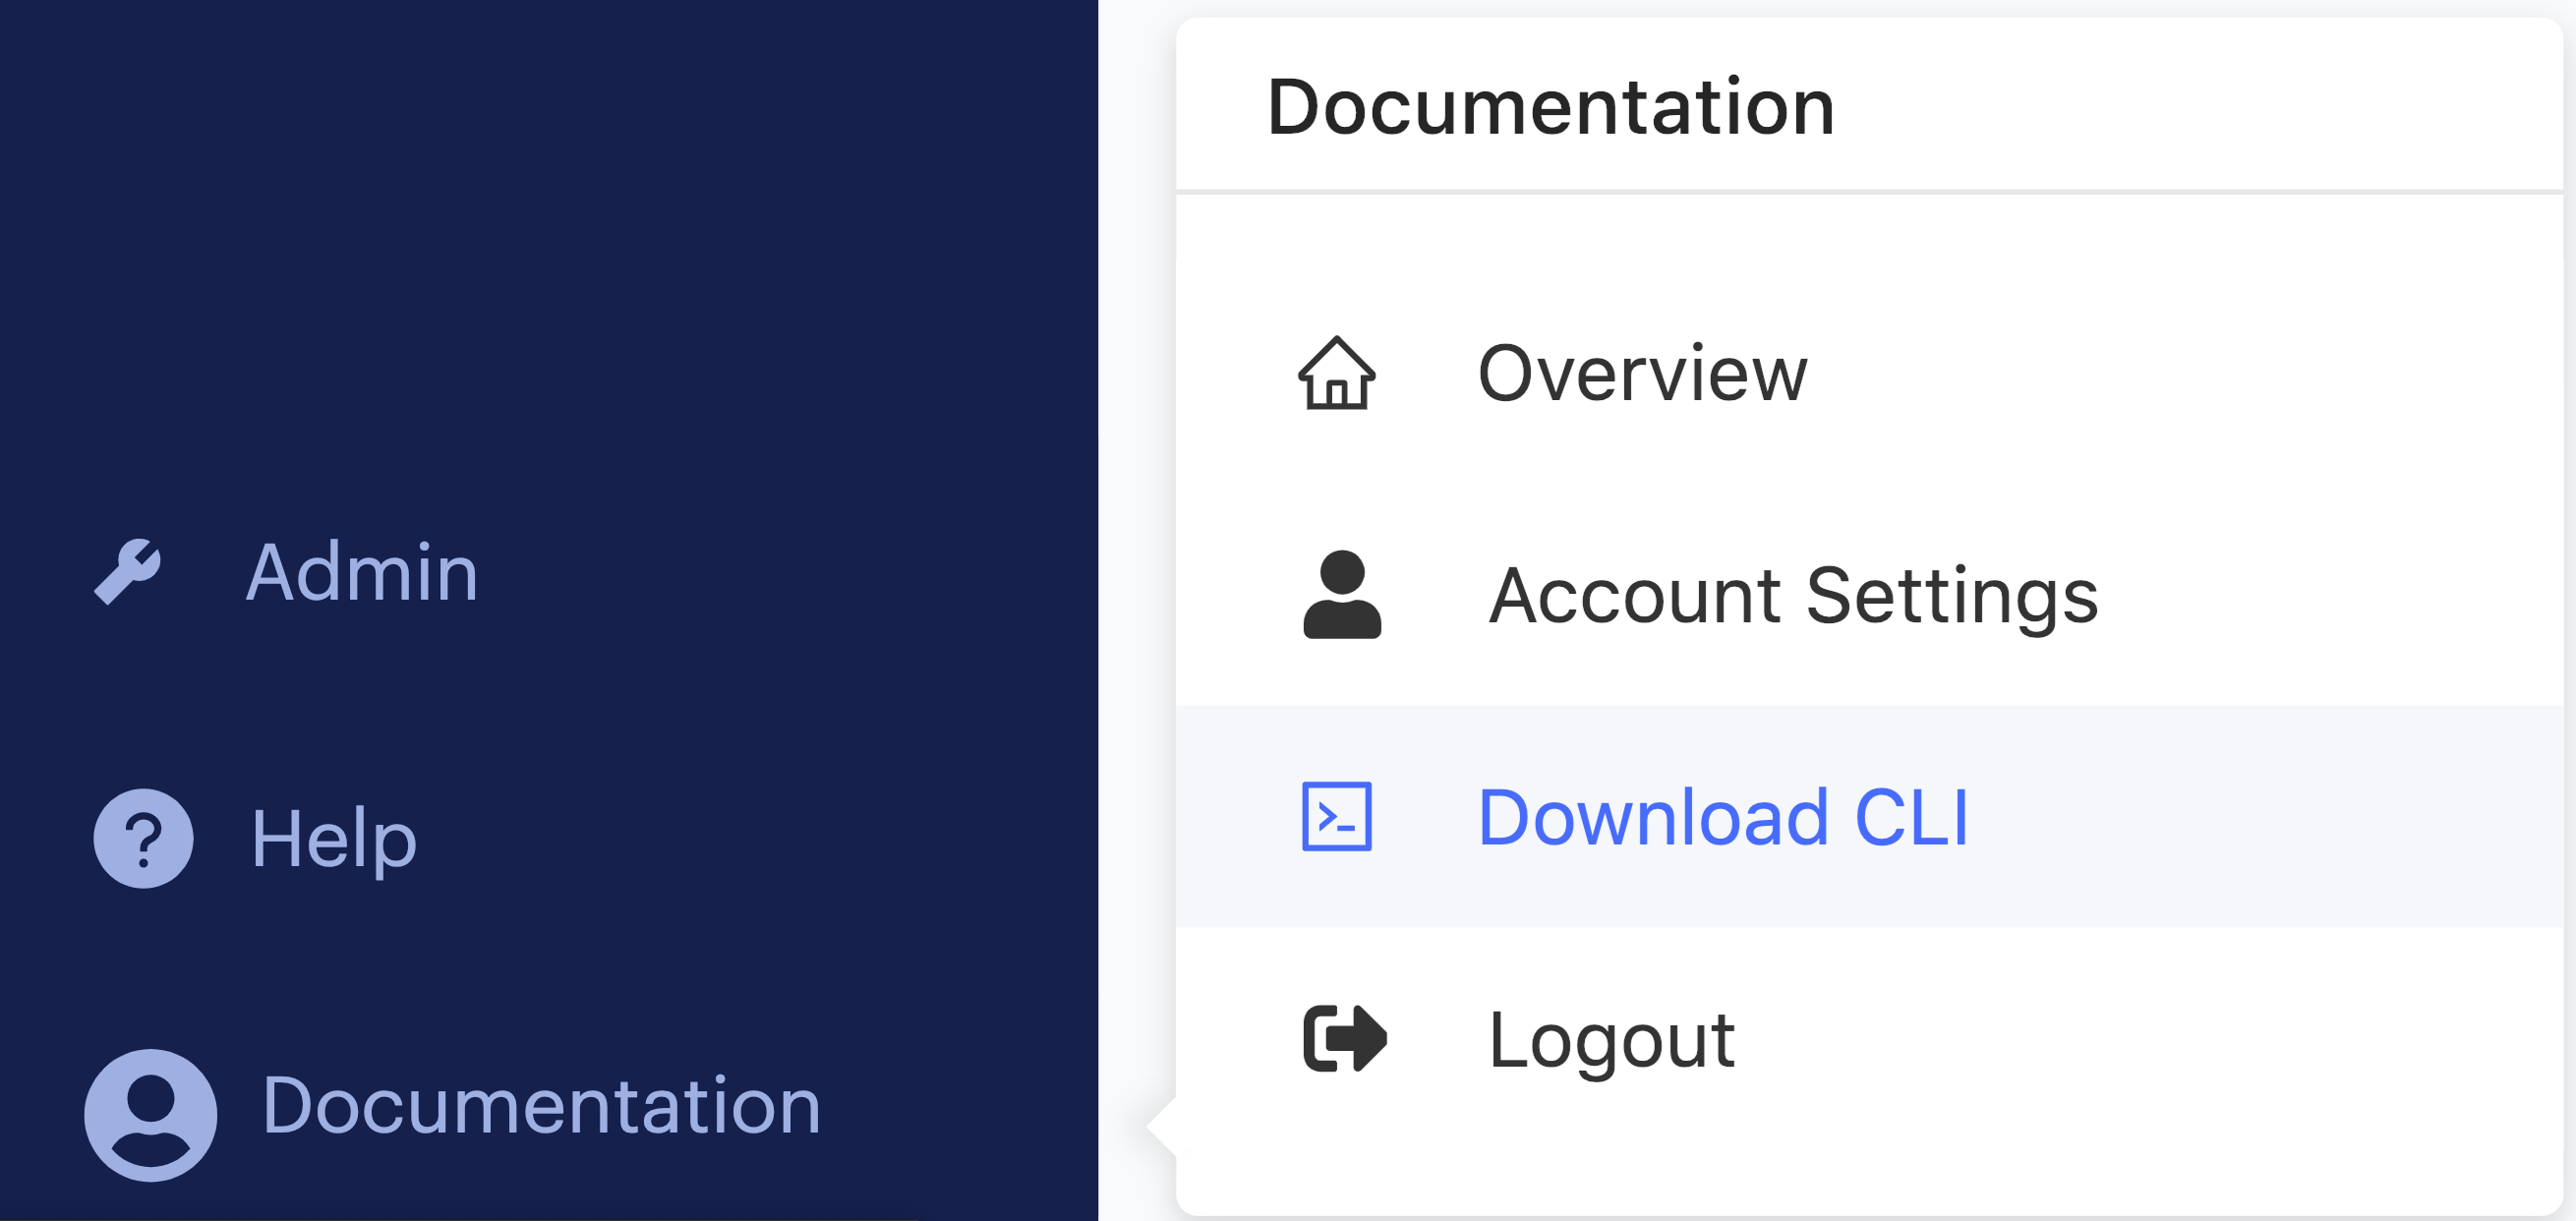
Click your username at the bottom of the main menu to download the CLI installer depending on the operating system.
Step 2: Run the CLI installer
Run the installer application depending on your operating system. See Operating System Support for more information.
Step 3: Log in to the Domino CLI
-
In a command prompt, type
domino login https://<your-domino-url>.The system prompts you to authorize using the CLI with Domino.
NoteAfter downloading and installing the Domino CLI, you have to close out of the terminal fully for it to recognize the install. -
Paste the following URL in your browser to use
authorizeCLIto get the authentication code.https://<your-domino-url>/authorizeCliNoteYou might be required to log in. -
Enter the authorization code provided and press Enter. A message indicates that the login succeeded.
Install the Domino CLI on a headless Linux machine
A headless installation is an installation of the Domino CLI on a server or machine that does not have a GUI. This is commonly done for machines that are used to automate tasks or run Domino CLI tasks in a server environment or on a Domino Workspace.
Install CLI from the command line
apt install openjdk-8-jre-headlessReplace <domino-url> in the link below with the Domino URL that is currently linked to the client.
wget https://<domino-url>/download/client/unix -O /tmp/domino-install-unix.shsh /tmp/domino-install-unix.sh|
Note
|
If you encounter an AtkWrapper error, resolve it by commenting out /etc/java-8-openjdk/accessibility.properties assistive_technologies and re-running the installer.
|
sed -i 's/^assistive_technologies=/#assistive_technologies=/g' /etc/java-8-openjdk/accessibility.propertiesCheck out the Domino CLI Reference for documentation about using the CLI.
Domino supports recent versions of the following operating systems:
-
Ubuntu Linux
-
Windows 10
-
macOS
macOS
You must have root privileges to run the Domino CLI for macOS.
On Mac OS X, the installer prompts you to enter administrator credentials.
If you do not have administrator privileges, you can click Cancel. When the installer prompts you to manually update your PATH, click Ignore to continue the installation process, then add export PATH="$PATH:/Applications/domino" (assuming the default installation folder) to your bash_profile.
Having trouble? Email us.