Create and activate users so they can use Domino. You can also deactivate users temporarily or permanently from the Admin panel.
Email services must be configured in your deployment for user creation to work.
Use the Admin panel to manually add new users by email and assign their roles. They’ll receive an invitation to set up their account after creation.
-
Go to Admin panel > Users > View all.
-
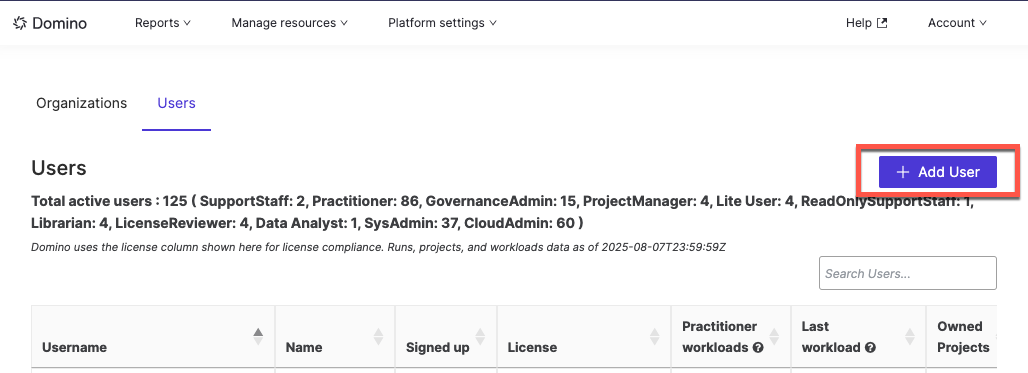
Click Add User.
-
Enter the user’s email address and assign roles.
-
Click Save.
The user will receive two emails:
-
A notification
-
An invitation to set up their account
They must follow the setup link in the email to complete their profile.
-
Go to Admin panel > Users > View all.
-
Find and select the user in the list.
-
Click Activate or Deactivate, depending on their current status.
After deactivation
After deactivating a user, complete the following cleanup tasks to prevent orphaned resources and broken executions.
-
Stop and delete workspaces:
-
Go to Reports > Workspaces and search for any workspaces owned by the user.
-
Delete these workspaces.
-
-
Check for active executions:
-
Go to Reports > Executions to view any running endpoints or apps owned by the user.
-
Make note of any that must remain active after project transfer — they will need to be restarted.
-
-
Transfer or archive projects:
-
Go to Reports > Projects.
-
Either archive the user’s projects, or transfer ownership to another user.
-
|
Important
| If you transfer a project that contains running endpoints, apps, or other executions, those executions will stop working until they are manually restarted under the new owner. |
-
Learn how to manage and assign user roles.
-
See how to reset a user’s password.