Bundles connect assets that need governance with the policies that govern them. Bundles let you contribute, collect, and review evidence to make sure assets achieve and maintain policy compliance.
Each bundle includes the following components:
-
One or more policies
-
Evidence for each policy
-
Attachments
-
Findings
-
Approvals
Bundles originate in a Domino Project and track its governable materials.
When you add a policy to a bundle, Domino creates an Evidence notebook where modelers, reviewers, and validators collaborate to achieve compliance.
The Evidence notebook supports different types of evidence depending on the policy definition. When you identify issues with evidence, you can create Findings to document and track them. You can also add Attachments, which are supporting evidence in the form of files, data, or other project items. When sufficient evidence is gathered, you can request and obtain approval.
In Domino, compliance is a status derived from the state of a bundle’s underlying policies. Domino calculates it as follows:
-
Policy compliance: A policy is compliant when you’ve obtained every stage approval up to the policy’s current stage.
-
Bundle compliance: A bundle is compliant when all its policies are compliant.
Once all requirements are met, you can mark a bundle Completed or Archived. Both are terminal states that freeze the Evidence notebook.
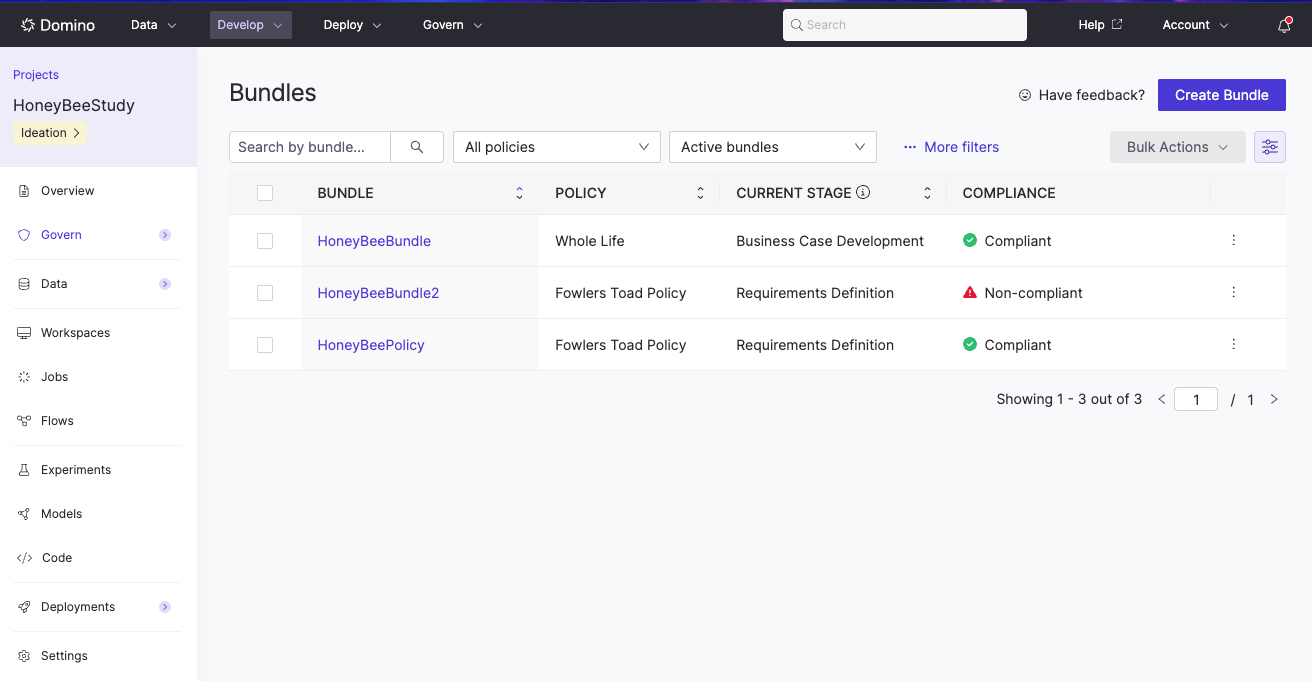
You can create a bundle directly from a Domino Project to start the formal review process.
-
Open your Project and select Govern > Bundles from the left navigation.
-
Click Create Bundle and provide a name and summary that describes the purpose of your model, app, or agent.
-
Select one or more policies that correspond to your project’s risk profile or regulatory requirements, then click Create.
Domino creates your Evidence notebook and populates the stages and approval requirements defined by your organization. You can now begin documenting your work for review.
-
Govern models, apps, agents, and files: link assets to a bundle for review
-
Use the Evidence notebook: document work and collect evidence
-
Add findings to a bundle: document issues and track resolution