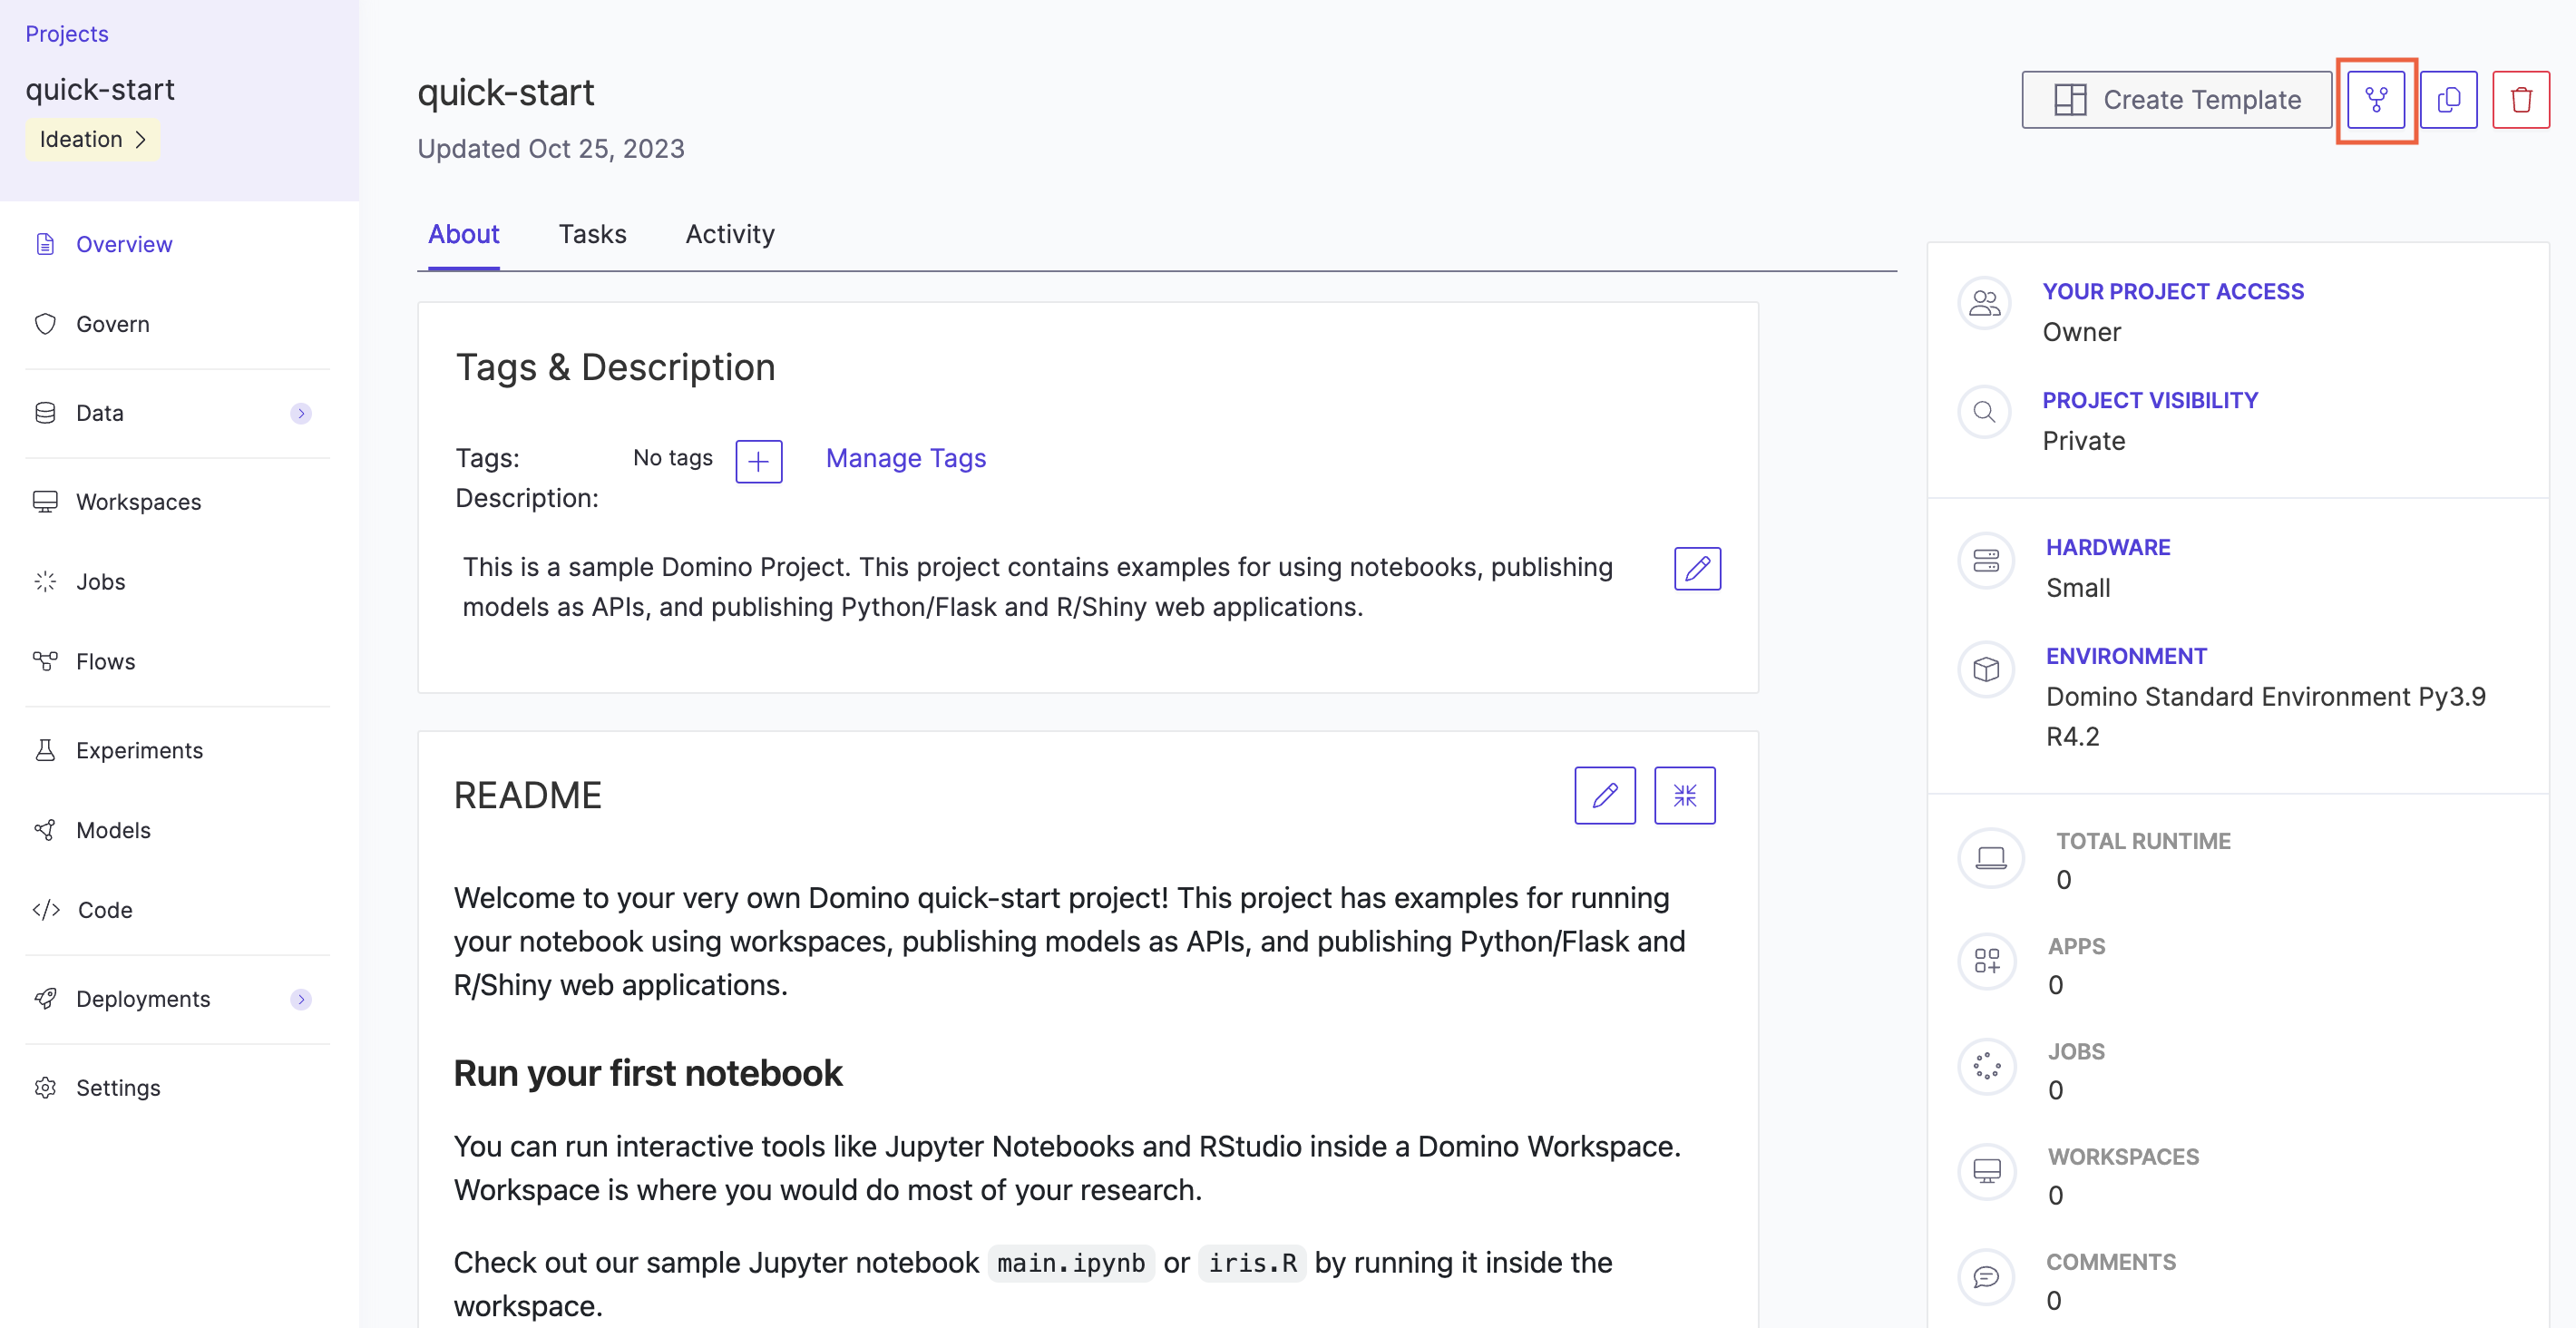
Forking a project copies all of its files into a new, separate project, allowing for independent development and experimentation. Changes in the forked project can later be reviewed and merged back into the original project.
-
Open the project overview and click Fork.
-
Enter a name for the fork when prompted. You must be the project owner, or have access to the project as a contributor or results consumer to fork it. See Share and Collaborate on Projects to learn more about project roles and access control.

The following are copied to the newly forked project:
-
All files
-
Revision history of all files
-
Environment variables
-
Launchers
-
Restricted project status
These things are not copied to the newly forked project:
-
Run history
-
Project settings, including collaborators and compute environment
-
Discussion history
Projects that have been forked, or were created by forking another project, will link to related forks on the project overview page.

